Here’s a sweet and simple Handprint Flower Craft tutorial for kids — perfect for Mother’s Day, spring, or just a fun creative afternoon!
Handprint Flower Craft for Kids – Step-by-Step Tutorial
Materials Needed:
- Colored construction paper (green, flower colors, optional background)
- Scissors
- Glue stick or white glue
- Pencil
- Green pipe cleaner or green paper strips (for stems)
- Buttons, pom-poms, or stickers (for flower centers, optional)
Step-by-Step Instructions:
Step 1: Trace the Handprint
- Choose a color of construction paper for your flower petals.
- Place the child’s hand flat on the paper, fingers spread slightly.
- Use a pencil to trace around the hand.
- Cut out the handprint.
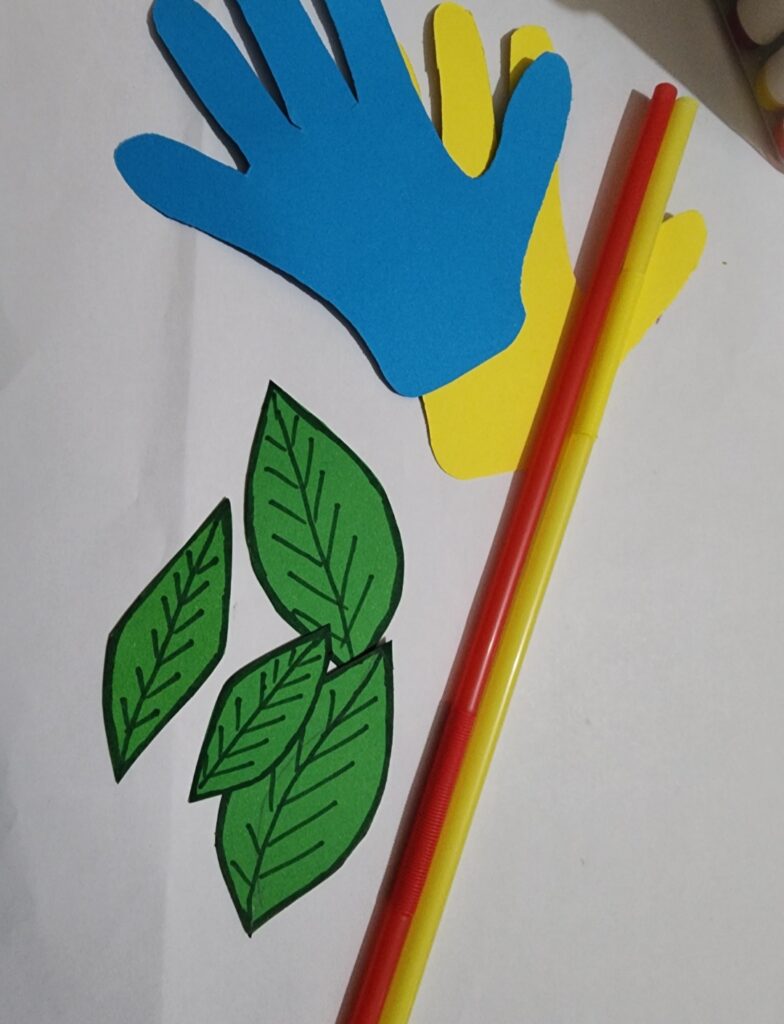
Step 3: Make the Stem
- Use a straw( you can also use pipe cleaner or cut a long green strip of paper) to form the stem.
- You can also add two green leaf shapes and glue them onto the stem.
Step 4: Assemble the Flower
- Glue the straw to the back of handprint and paste the leaves.

Step 5: Optional Background or Pot
- Glue the flower onto a piece of paper or cardboard to display it.
- Add a flowerpot cutout at the bottom, or draw one.
- Let the child decorate the background with clouds, sun, grass, or a message like “You Are Blooming!” or “Happy Mother’s Day!”