Materials Needed:
- White cardstock or thick paper
- Pencil
- White school glue (liquid)
- Table salt
- Watercolor paints or liquid food coloring
- Paintbrush
- Small cups of water
- Tray or newspaper (to catch excess salt)
Step-by-Step Instructions:
Step 1: Draw the Rainbow
- Lightly draw a rainbow shape with a pencil on the cardstock.
- Draw arches, one for each color of the rainbow (red, orange, yellow, green, blue, indigo, violet).
Step 2: Apply Glue
- Trace over each pencil line with white school glue. Make sure the lines are thick enough to hold salt well.
- You can do this all at once, or one arch at a time if working with younger kids.

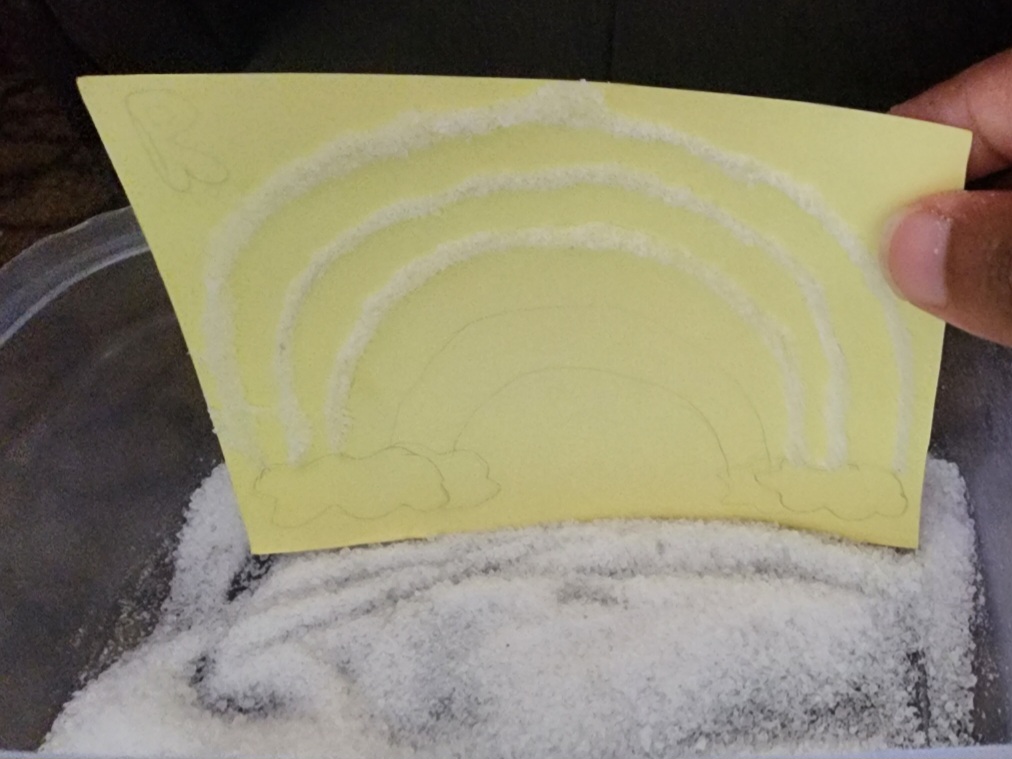
Step 3: Sprinkle Salt
- Generously sprinkle salt over the glue while it’s still wet.

- Gently shake off the extra salt onto a tray or paper so it can be reused.
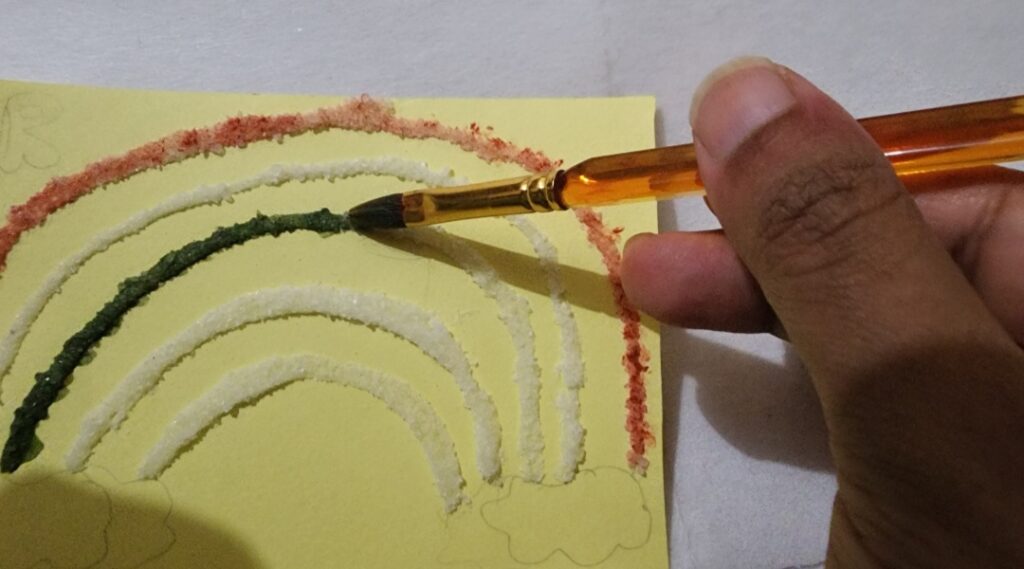
Step 4: Add the Colors
- Dip a paintbrush into watercolor paint or colored water (food coloring mixed with water).
- Gently dab the brush onto the salted glue lines — the color will spread like magic through the salt!
- Paint each arch of the rainbow with its matching color.
Step 5: Let It Dry
- Lay the rainbow flat and let it dry completely — this may take several hours.
- Avoid touching the salt lines while drying so the colors stay crisp.
