Skip to content
Materials Needed:
- Construction paper (multiple colors)
- Pencil
- Scissors
- Glue stick or white glue
- Black marker
Step-by-Step Instructions:
Step 1: Trace and Cut Out Handprints
- Choose two sheets of colored construction paper for the butterfly wings.
- Place the child’s hand flat on the paper and trace around it with a pencil.
- Cut out the handprint. Repeat so you have one left and one right handprint— these will be the butterfly’s wings.
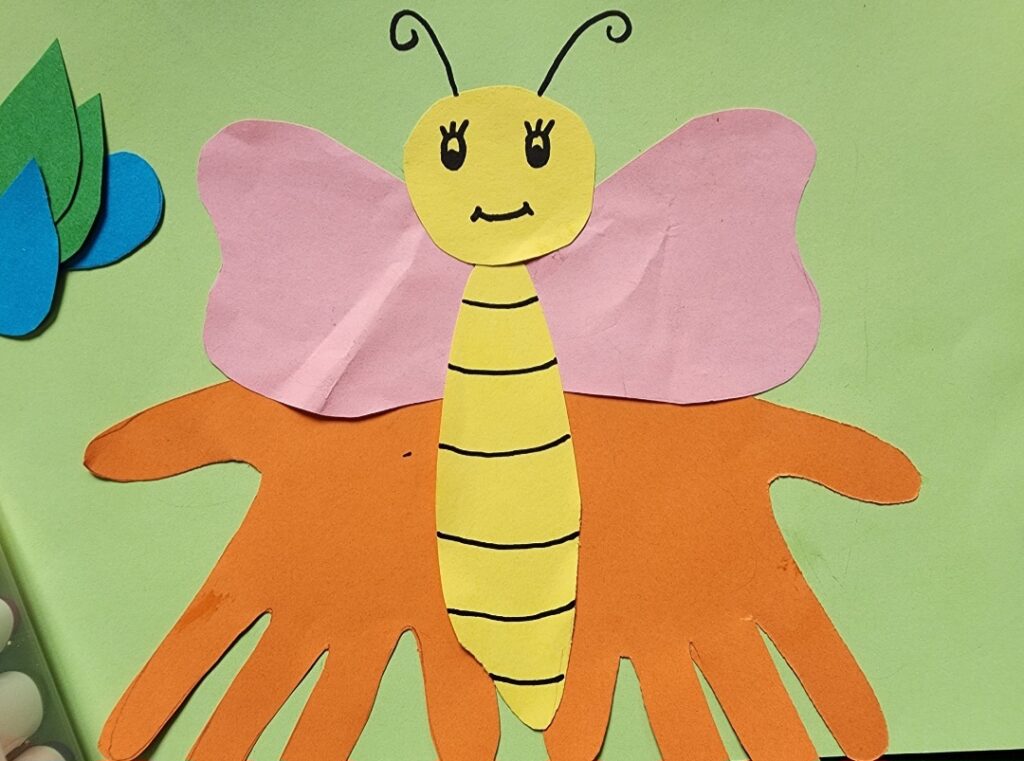
Step 2: Make the Butterfly Body
- Cut a long oval and circle shape out of colored paper for the butterfly’s body.
- Draw a smiley face and eyes on one end of the body using a marker.
- Draw antenna with black markers.
Step 3: Attach the Wings
- Arrange the handprints with fingers pointing outward on each side of the butterfly’s body.
- Glue the left wing to the left side of the body and the right wing to the right side.
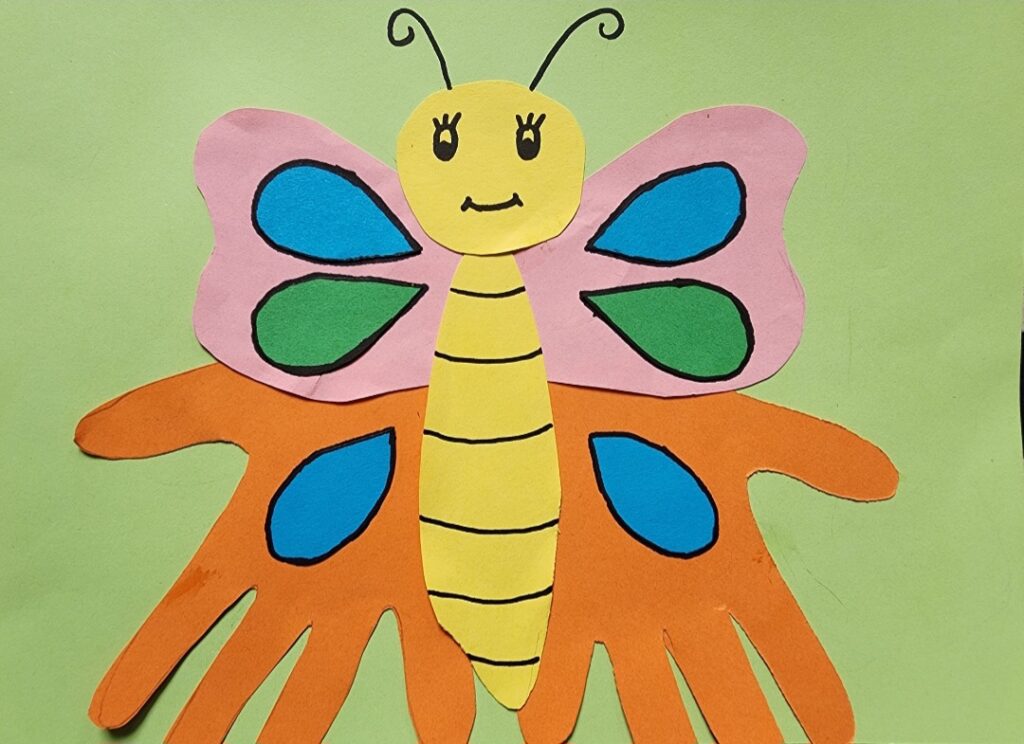
Step 5: Decorate
- Add dots, hearts, or other shapes to the wings using scrap paper, stickers, or crayons.
- Let the child personalize their butterfly however they like!
Display Idea:
- Hang the butterfly on the wall or window.
- Tape it to a popsicle stick for a butterfly puppet.
- Create a garden scene on a poster board with multiple butterflies!