Create an adorable fingerprint ladybug craft with this simple and fun tutorial! It’s perfect for kids of all ages and helps improve fine motor skills while encouraging creativity. Plus, I’ve included a free printable template to make it even easier!
Materials Needed
- Printable ladybug template (Download below)
- Red and black paint
- Markers (optional)
- Paper or cardstock
Step-by-Step Instructions
Step 1: Print the Template
👉 Download the free ladybug template here
- Print the template on a piece of A4 size paper and place the paper on hard surface.
Step 2: Create the Ladybug’s Body
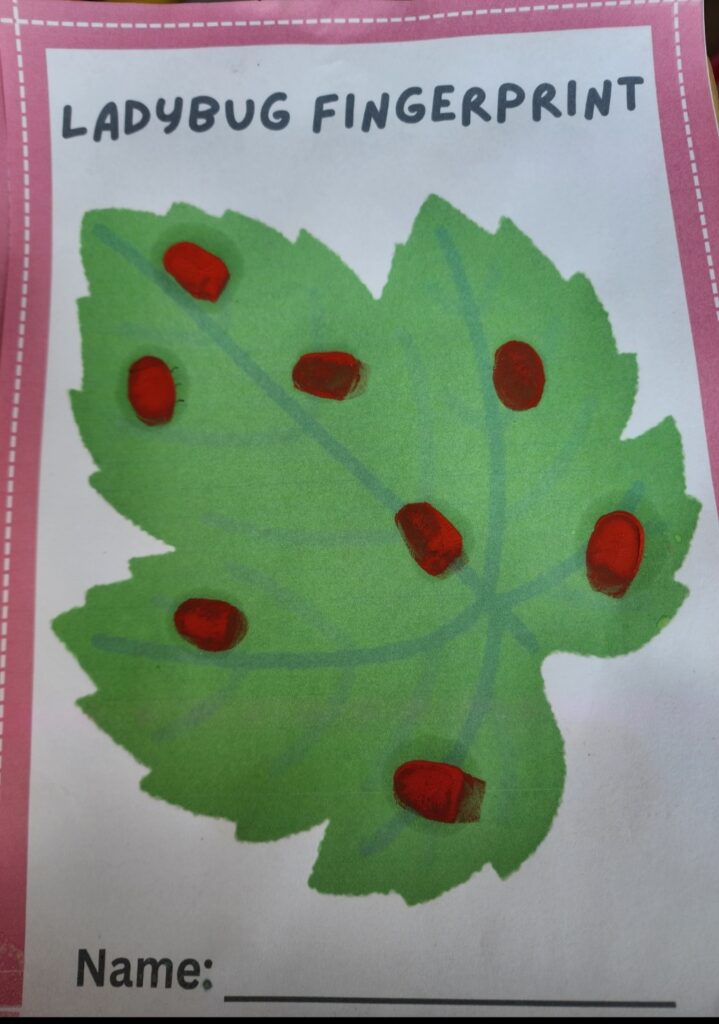
- Dip your finger into red paint and press it onto the ladybug’s body outline on the template.
- Continue adding red fingerprints until the body is filled in. Let it dry for a few minutes.
Step 3: Add the Spots
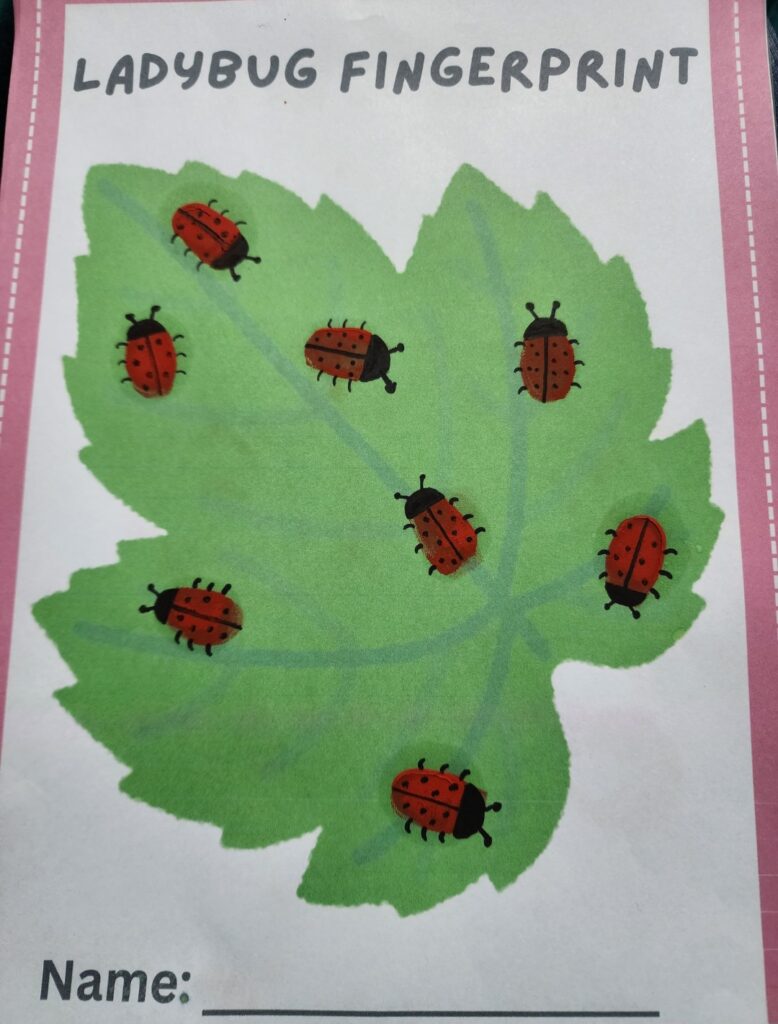
- Once the red paint is dry, use a black marker to draw the ladybug’s head, black spots and add tiny antennae.
- You can also use the marker to add a smile or other fun details!
Final Touches
- Let the ladybug craft dry completely before displaying.
- You can create a whole collection of ladybugs by using different fingerprint sizes and paint colors!
- Hang them up as decorations or use them for a spring-themed craft project.
Free Ladybug Template
👉 Download the free ladybug template (Insert link to template)
This fingerprint ladybug craft is an easy and fun activity for kids that helps them explore textures and colors. Let me know if you’d like me to create more templates for your blog!