Rock painting is a fun and easy craft for all ages! In this tutorial, we’ll show you how to paint a cute ladybug on a rock using simple materials. These ladybug rocks make great garden decorations, paperweights, or gifts.
Materials Needed:
Smooth, flat rock (clean and dry)
Permanent Markers (red, black)
Clear sealer (optional, for outdoor use)
Step-by-Step Instructions:
Step 1: Create the Ladybug’s Head
- Using black marker, draw and fill in a semi-circle at one end of the rock for the ladybug’s head.
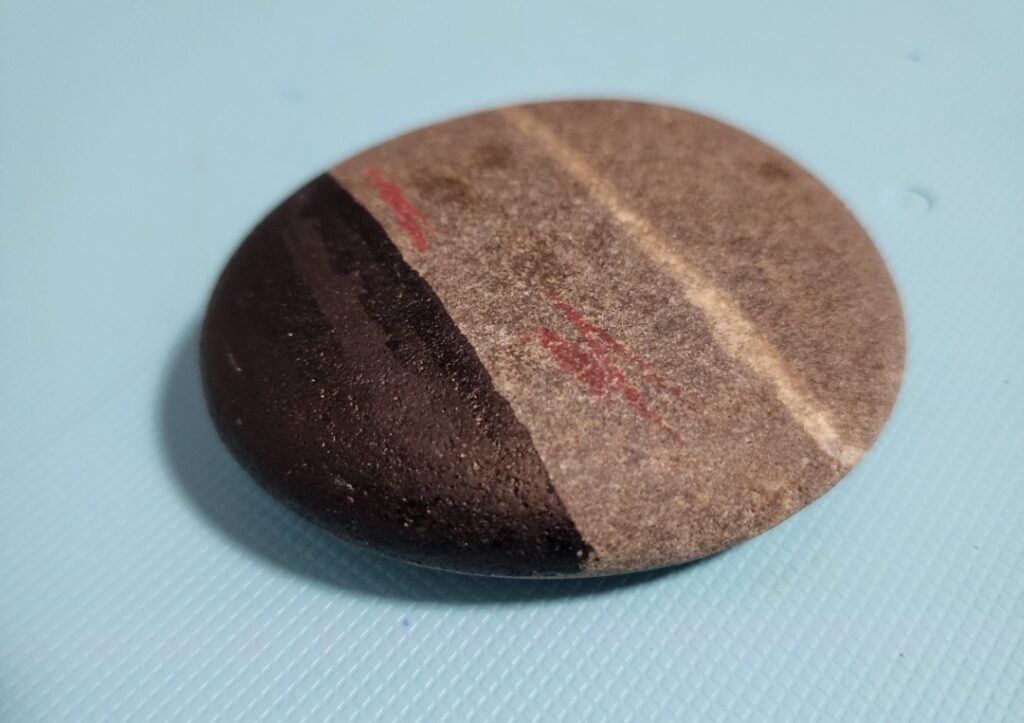
Step 2: Make the body
Paint the ladybug’s body with red marker. And attach googly eyes on the head.
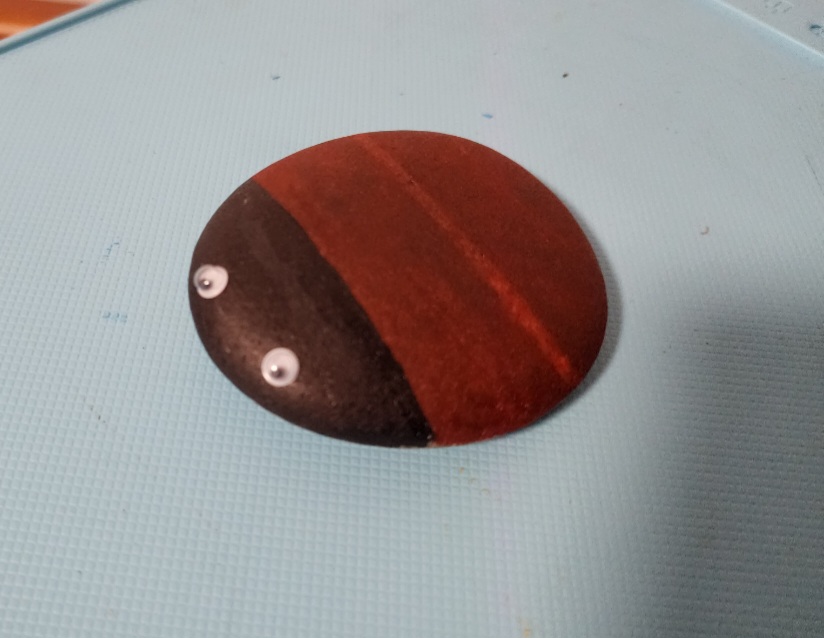
Step 4: Paint the Wings and Spots
- Use a black paintbrush or marker to draw a straight line down the center of the rock, dividing the wings.

Step 7: Seal the Rock
- If you plan to place the rock outside, apply a clear sealant for protection.
Final Thoughts:
Your ladybug rock is now complete! Use it to decorate your garden, give as a gift, or even hide it for a fun rock-hunting activity. Happy crafting!