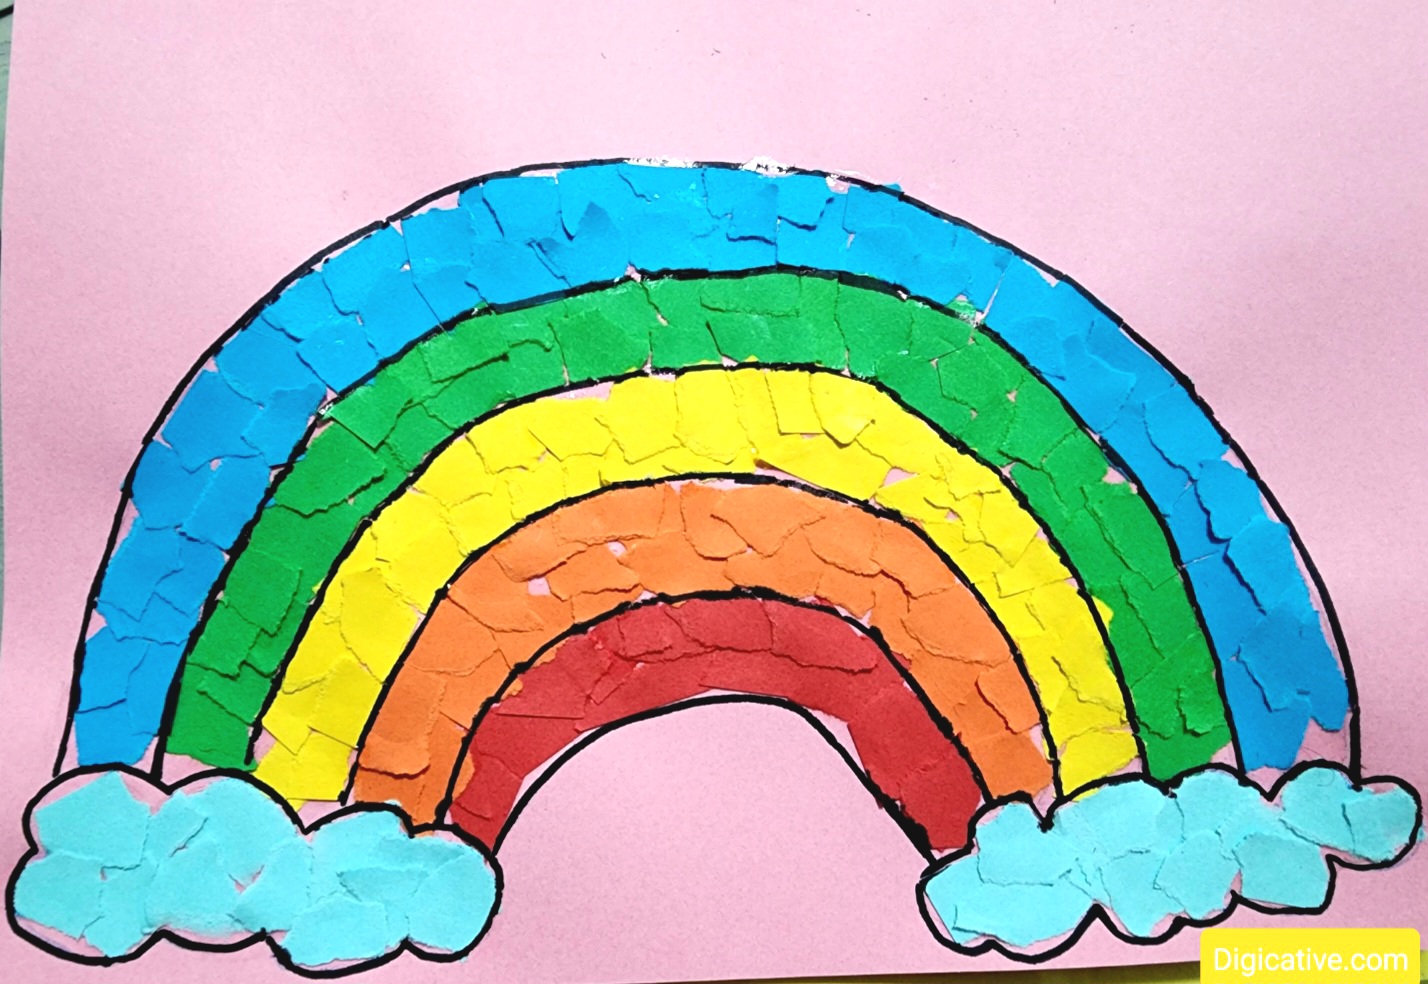
If you are looking for amazing rainbow crafts, this tutorial for torn paper rainbow is for you.
My kids always love rainbow crafts. These are easy and fun to make.
It helps children develop fine motor skills, creativity, and color recognition while having fun. Plus, you only need a few basic supplies to get started. Let’s dive into this easy step-by-step tutorial!
Supplies You’ll Need
- Construction paper (red, orange, yellow, green, blue, purple)
- White paper (for the base)
- Glue stick
- Cotton balls (optional, for clouds)
Step-by-Step Instructions
Step 1: Tear the Colored Paper
Instead of using scissors, let your kids tear the construction paper into small pieces. This step is great for improving their hand strength and coordination. Make sure to tear each color separately.
Step 2: Draw a Rainbow Outline
On a white sheet of paper, lightly draw an arc-shaped rainbow with a pencil. This will serve as a guide for placing the torn paper.
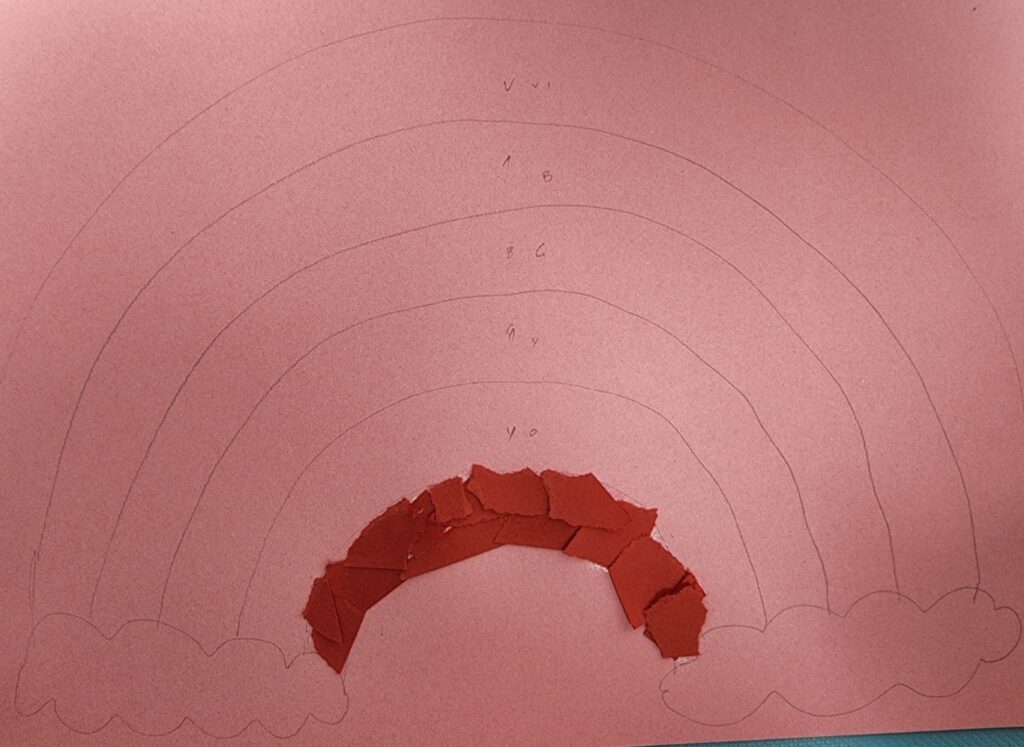
Step 3: Glue the Torn Paper
Starting with red, apply glue to the first arc and place the torn pieces along the curve. Continue with orange, yellow, green, blue, and purple, making sure each color stays in its own section.
Step 4: Add Clouds
For a fun touch, glue cotton balls at the ends of the rainbow to create fluffy clouds. I have added torn blue paper.
Step 5: Let It Dry and Display
Once the glue dries, your torn paper rainbow is ready! Hang it on the wall or place it on the fridge to showcase your child’s creativity.

Why Kids Will Love This Craft
- No scissors needed – Safe for younger kids
- Boosts creativity – Allows them to explore textures and colors
- Fine motor development – Helps strengthen little hands and fingers
- Mess-free fun – Requires only paper, glue, and hands!
This torn paper rainbow craft is perfect for rainy days, classroom activities, or just a fun afternoon at home. Try it today and watch your child’s imagination shine!
Have you tried this craft? Share your experience in the comments.
I hope you like this post. Do pin it and share it with others.