Creating a playdough butterfly is a fun and easy craft for kids that encourages creativity and fine motor skills. In this tutorial, I will guide you step-by-step to make a colorful butterfly using playdough.
Materials Needed:
- Playdough in various colors
- Rolling pin or smooth surface
Step-by-Step Instructions:
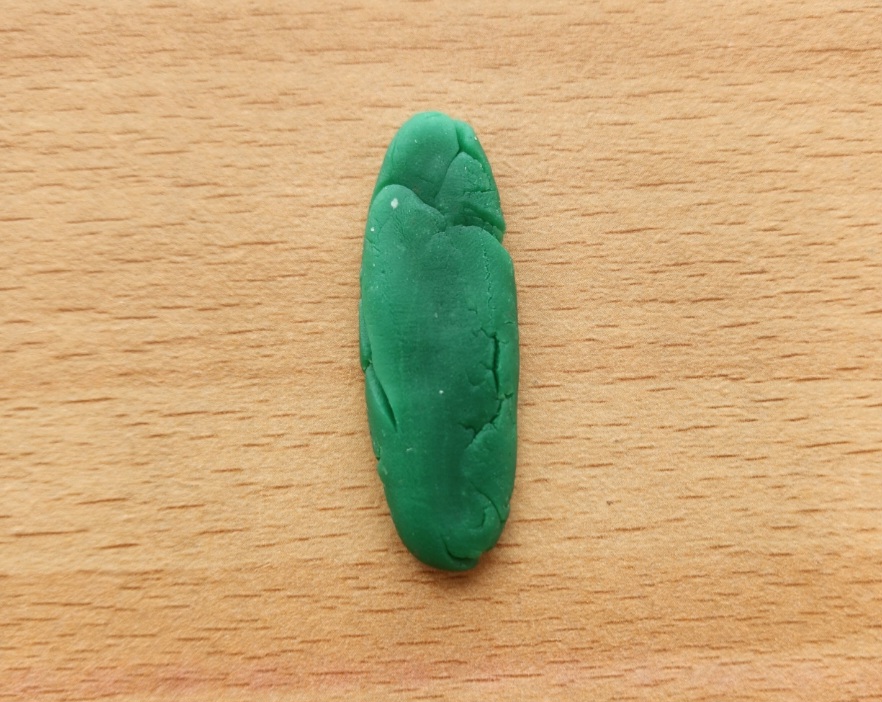
Step 1: Make the Butterfly Body
- Take a small piece of playdough and roll it into an oval or log shape.
- This will be the butterfly’s body. You can use one color or mix two colors for a fun effect.
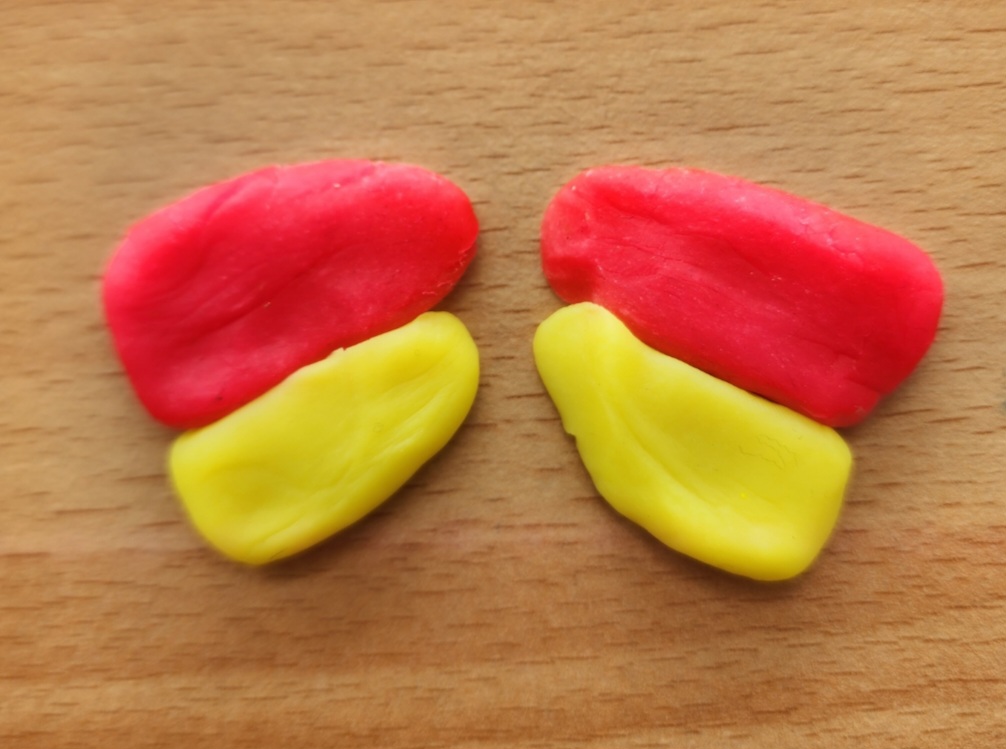
Step 2: Create the Butterfly Wings
- Choose two or more colors for the wings.
- Roll out small balls of playdough and flatten them using your fingers or a rolling pin.
- Shape them into circles or ovals.
- Make two larger wings for the top and two smaller ones for the bottom.
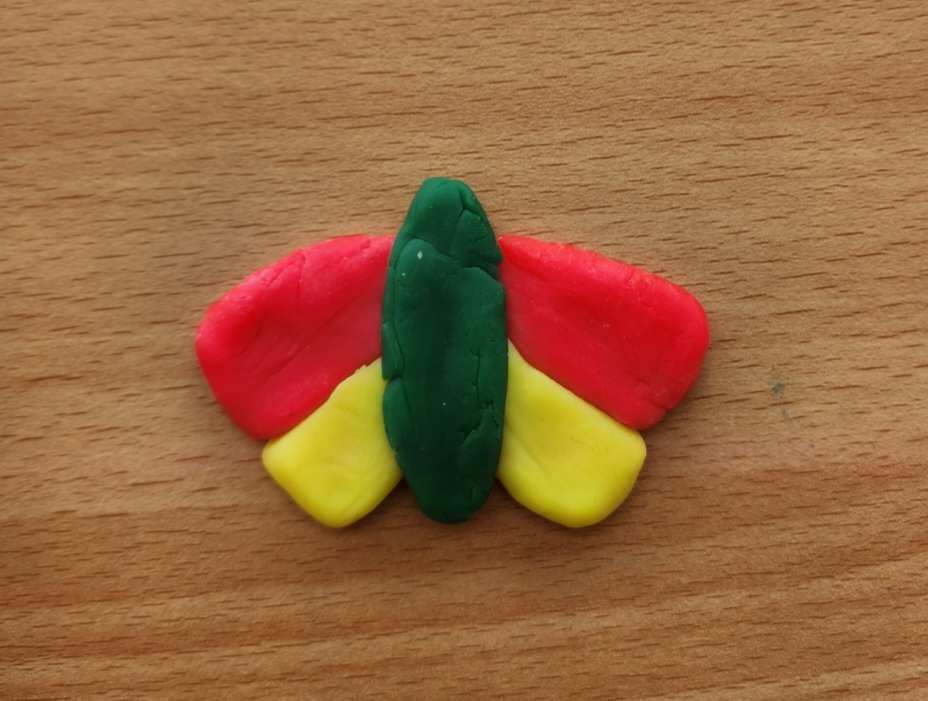
Step 3: Attach the Wings
- Press the larger wings on each side of the upper part of the body.
- Attach the smaller wings below the larger ones.
- Gently press the wings so they stick to the body.
Step 4: Add Details
- Roll two tiny balls of playdough for the eyes, or use googly eyes. Press them onto the top of the butterfly’s body.
- Roll a thin piece of playdough for the mouth and place it below the eyes.
Step 5: Make the Antennae
- Roll the play dough into snake shape and slightly curve them to give shape of antenna.
Step 6: Decorate the Wings
- Use small balls of playdough to make patterns on the wings.
- Roll tiny snakes of playdough and swirl them on the wings for extra designs.
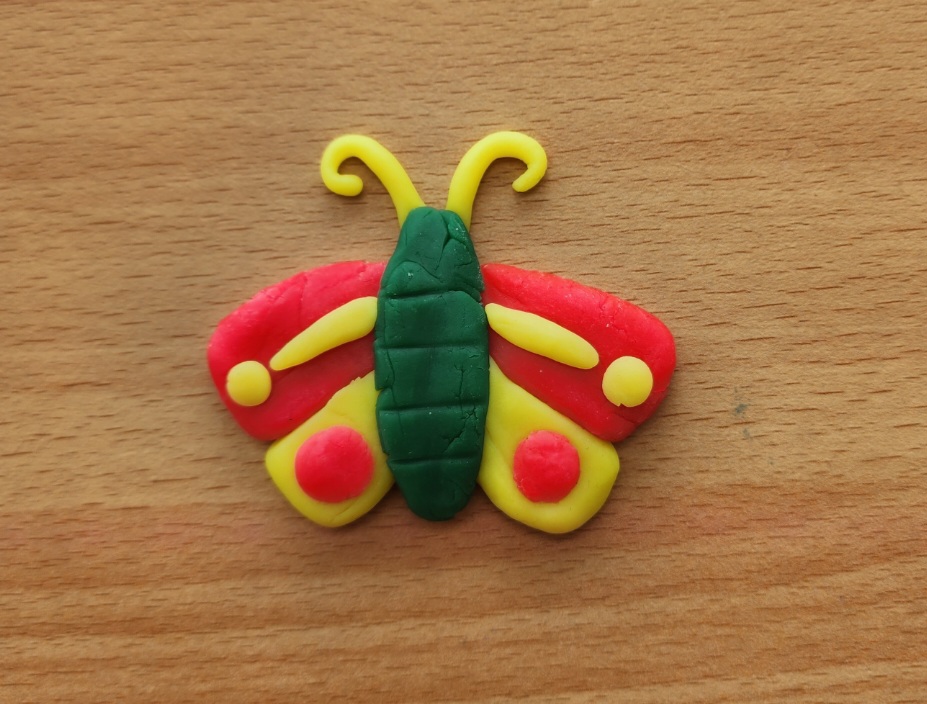
This playdough butterfly craft is great for imaginative play and can be used to teach kids about symmetry and colors. Have fun crafting!