Making a playdough ladybug craft is a fun and simple project for kids! Here’s a step-by-step guide:
Materials Needed:
- Red playdough
- Black playdough
- White playdough (optional, for eyes)
- Rolling pin (optional)
- Toothpick or plastic knife (for details)
Instructions:
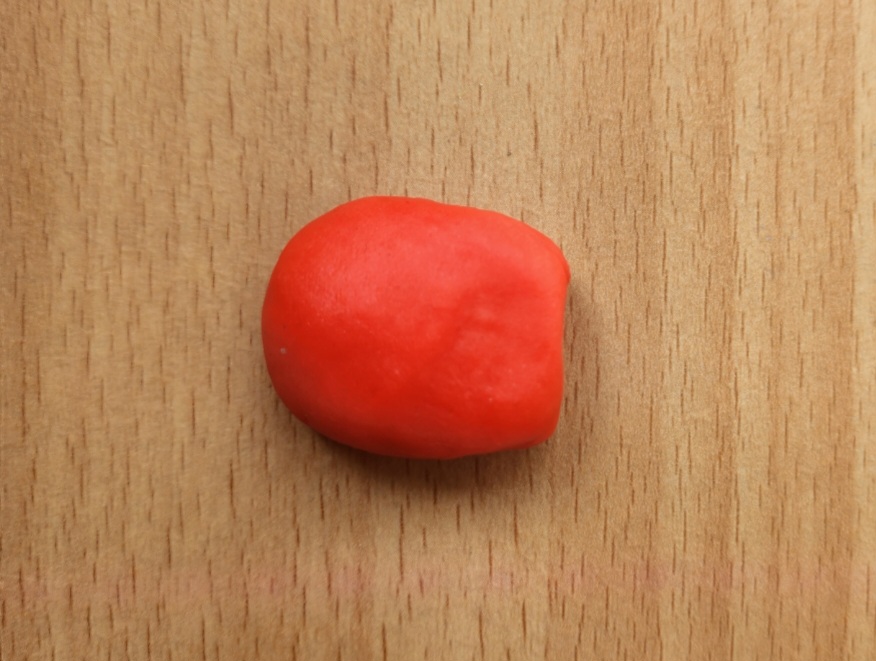
Make the Body:
- Roll a ball of red playdough to form the ladybug’s body. Flatten it slightly into an oval or round shape.
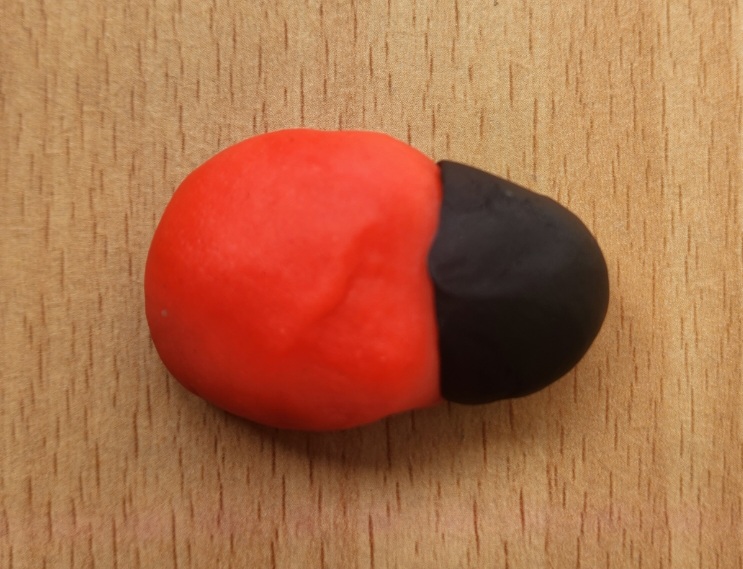
Add the Head:
- Roll a small ball of black playdough and attach it to one end of the red body to form the ladybug’s head.
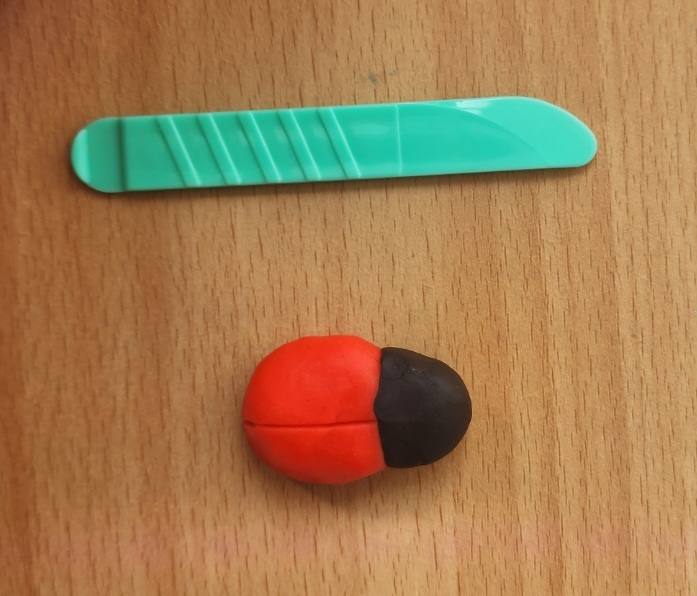
Create the Wings:
- Use a toothpick or plastic knife to lightly draw a line down the center of the red body to separate the wings.
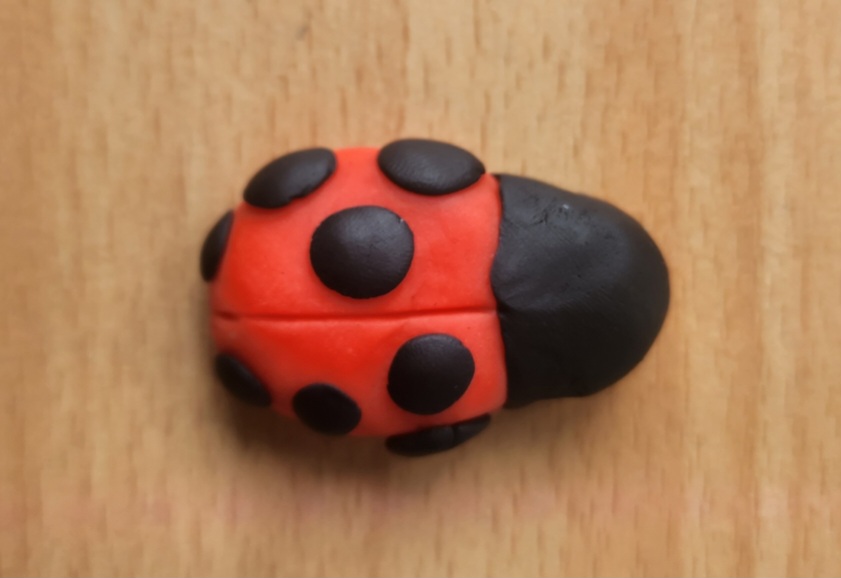
Make the Spots:
- Roll tiny balls of black playdough and press them onto the red body to create the ladybug’s spots.
Add Eyes and Legs
- Roll two small white balls of playdough for eyes and press them onto the head. I used white paint. Add tiny black pupils using small black dots.
- Attach six legs to the bottom with black playdough.
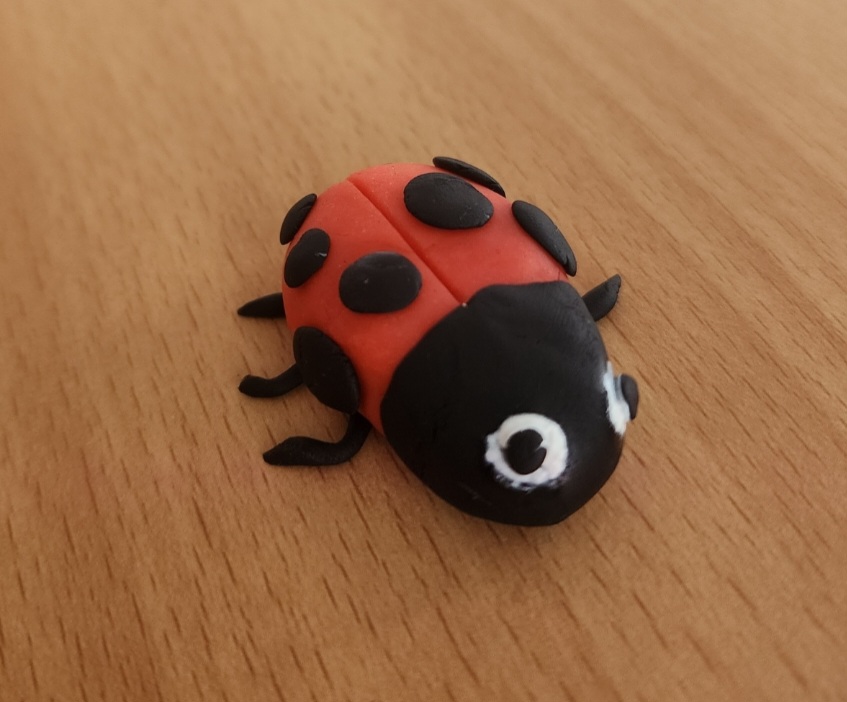
That’s it! Your playdough ladybug is ready. You can make multiple ladybugs in different colors for a fun collection!