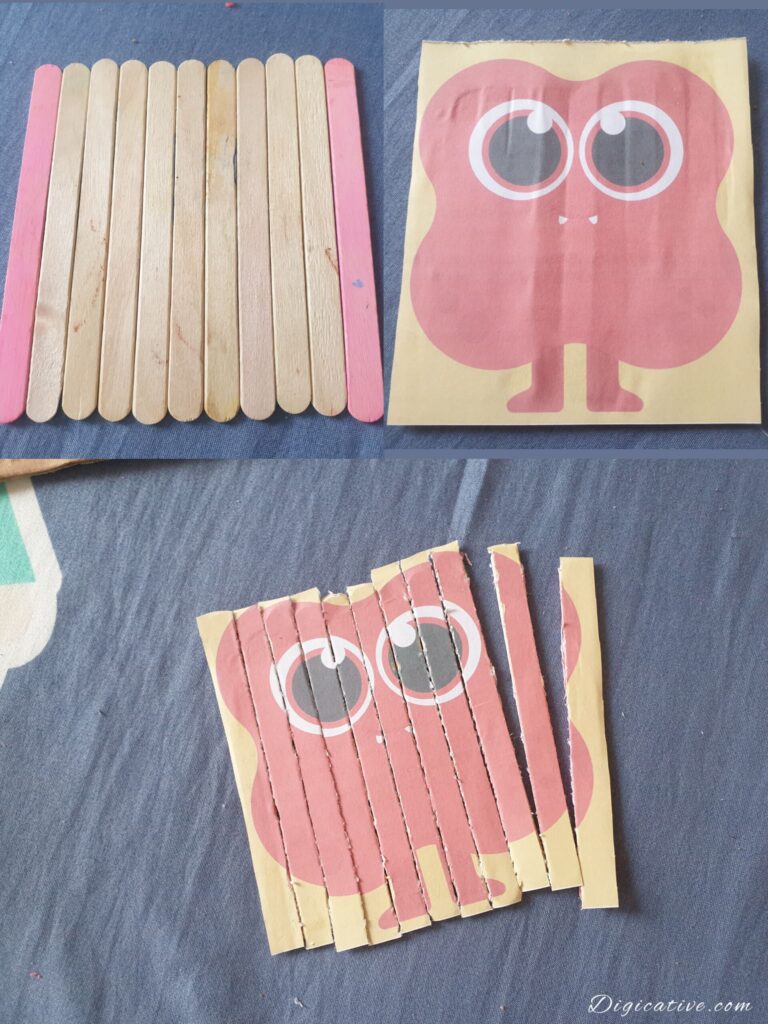
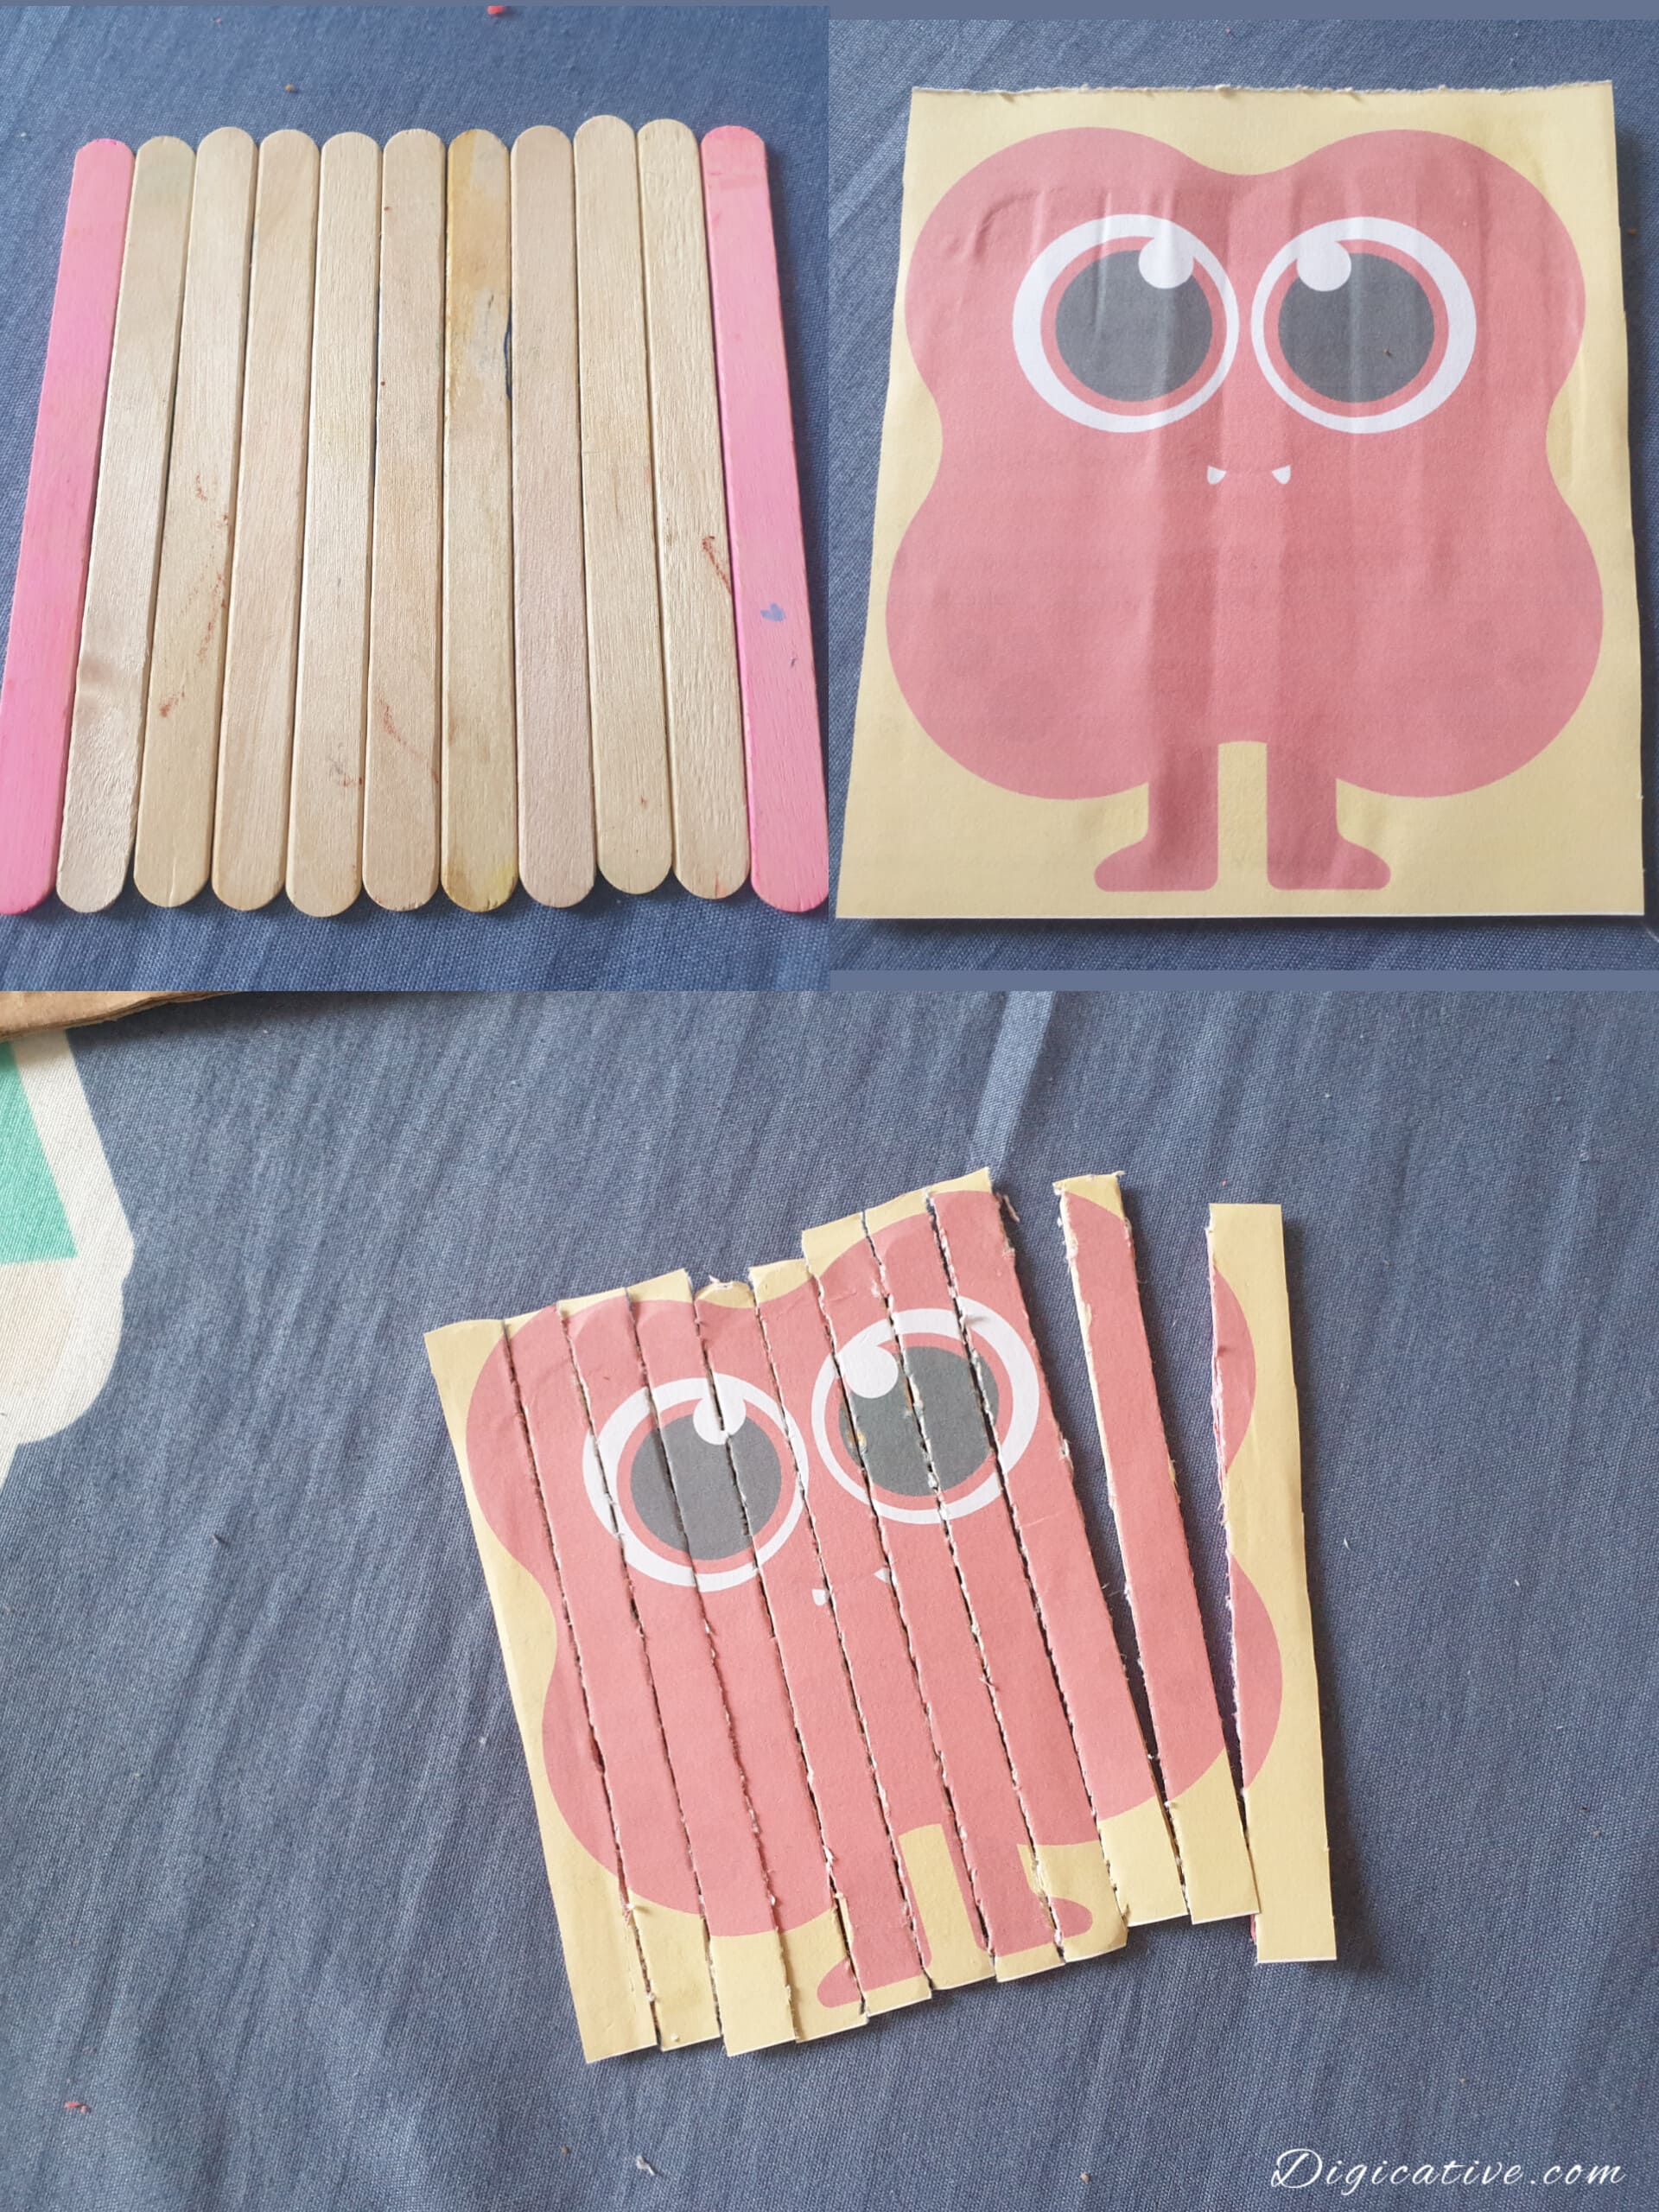
Hey There, welcome to the amazing tutorial. I have a post on the popsicle stick craft ideas, and I shared the list of 15+ tutorials. So if you’re looking for a Popsicle Stick Picture Puzzle, you’re at the right place.
Let’s dive into the tutorial.
Popsicle Stick Picture Puzzle
Materials Needed:
- 10–12 popsicle sticks (depending on the picture size and desired difficulty)
- Printed photo, magazine cutout, or drawing
- Scissors
- Mod Podge (or any clear glue)
- Paintbrush
- Clear tape or masking tape
- Craft knife or box cutter (adult supervision required)
Step 1: Prepare the Popsicle Sticks
- Lay out 10–12 popsicle sticks in a straight line, side-by-side, on a flat surface.
- Ensure that they are aligned evenly and touching each other without gaps.
Step 2: Secure the Popsicle Sticks
- Place a strip of clear tape or masking tape along the back of the sticks to hold them together while you work on the front. This makes it easy to create a seamless image without the sticks shifting.
Step 3: Choose and Prepare the Image
Trim the image to fit the size of the popsicle sticks’ layout. The image should cover the entire row of sticks with no excess around the edges.
Choose a printed photo, drawing, or a cutout from a magazine that you’d like to turn into a puzzle.
You can also draw Your Own Design using markers or paint, and draw simple shapes. You can draw any other like a smiley face, rainbow, or animal. Make sure they cover each stick for a continuous image. See the shape puzzle tutorial here.

Creating a popsicle stick picture puzzle is a delightful and easy DIY project that both kids and adults can enjoy. With just a few simple materials, you can make a personalized puzzle that is great for gifts, memory games, or just a fun activity. Plus, it’s an excellent way to upcycle popsicle sticks and keep kids entertained. Here’s a step-by-step guide to making your very own popsicle stick picture puzzle!
Step 4: Apply the Image to the Popsicle Sticks
- Apply a thin layer of Mod Podge or clear glue to the top of the popsicle sticks.
- Place the picture on top, pressing it down evenly to ensure it sticks well. Smooth out any wrinkles or bubbles using your fingers or a small ruler.
- Let the glue dry completely. This may take about 15–20 minutes.
Step 5: Cut the Puzzle Pieces
- Once the Mod Podge has dried, carefully remove the tape from the back of the popsicle sticks.
- Using a craft knife or box cutter, gently cut between each stick to separate them. This step will turn the picture into individual puzzle pieces, so take care to keep the lines as straight as possible.
Step 6: Ready to Play!
Now you have a beautiful, custom picture puzzle! Scramble the popsicle sticks and challenge your kids or friends to put the image back together.
Tips and Ideas:
- Choose Simple Images for Younger Kids: Large, simple images make it easier for young children to piece together the puzzle.
- Use Different Photos for Multiple Puzzles: Create a set of puzzles by using various images. You can even color-code the backs of the sticks to keep track of which pieces belong together.
- Add Numbers or Letters for a Learning Twist: Write numbers or letters on the back of each stick to make it an educational tool for counting, spelling, or alphabet practice.
This DIY popsicle stick picture puzzle is a fantastic, low-cost activity that’s fun for all ages. It’s also a lovely keepsake idea and makes for a memorable, heartfelt gift! Enjoy creating and puzzling together!
I hope you like this post. Do pin it and share it with others.
Sharing is Caring!
You May Also Like:

