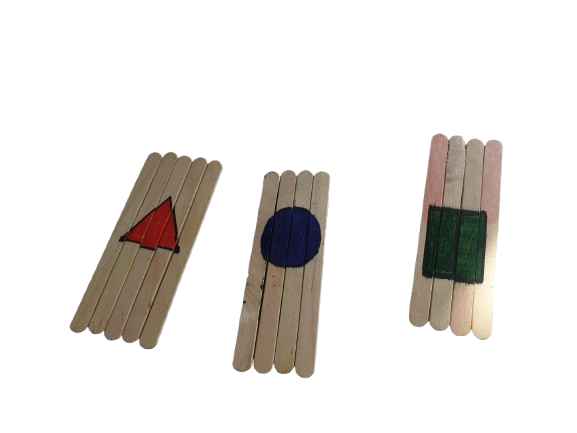
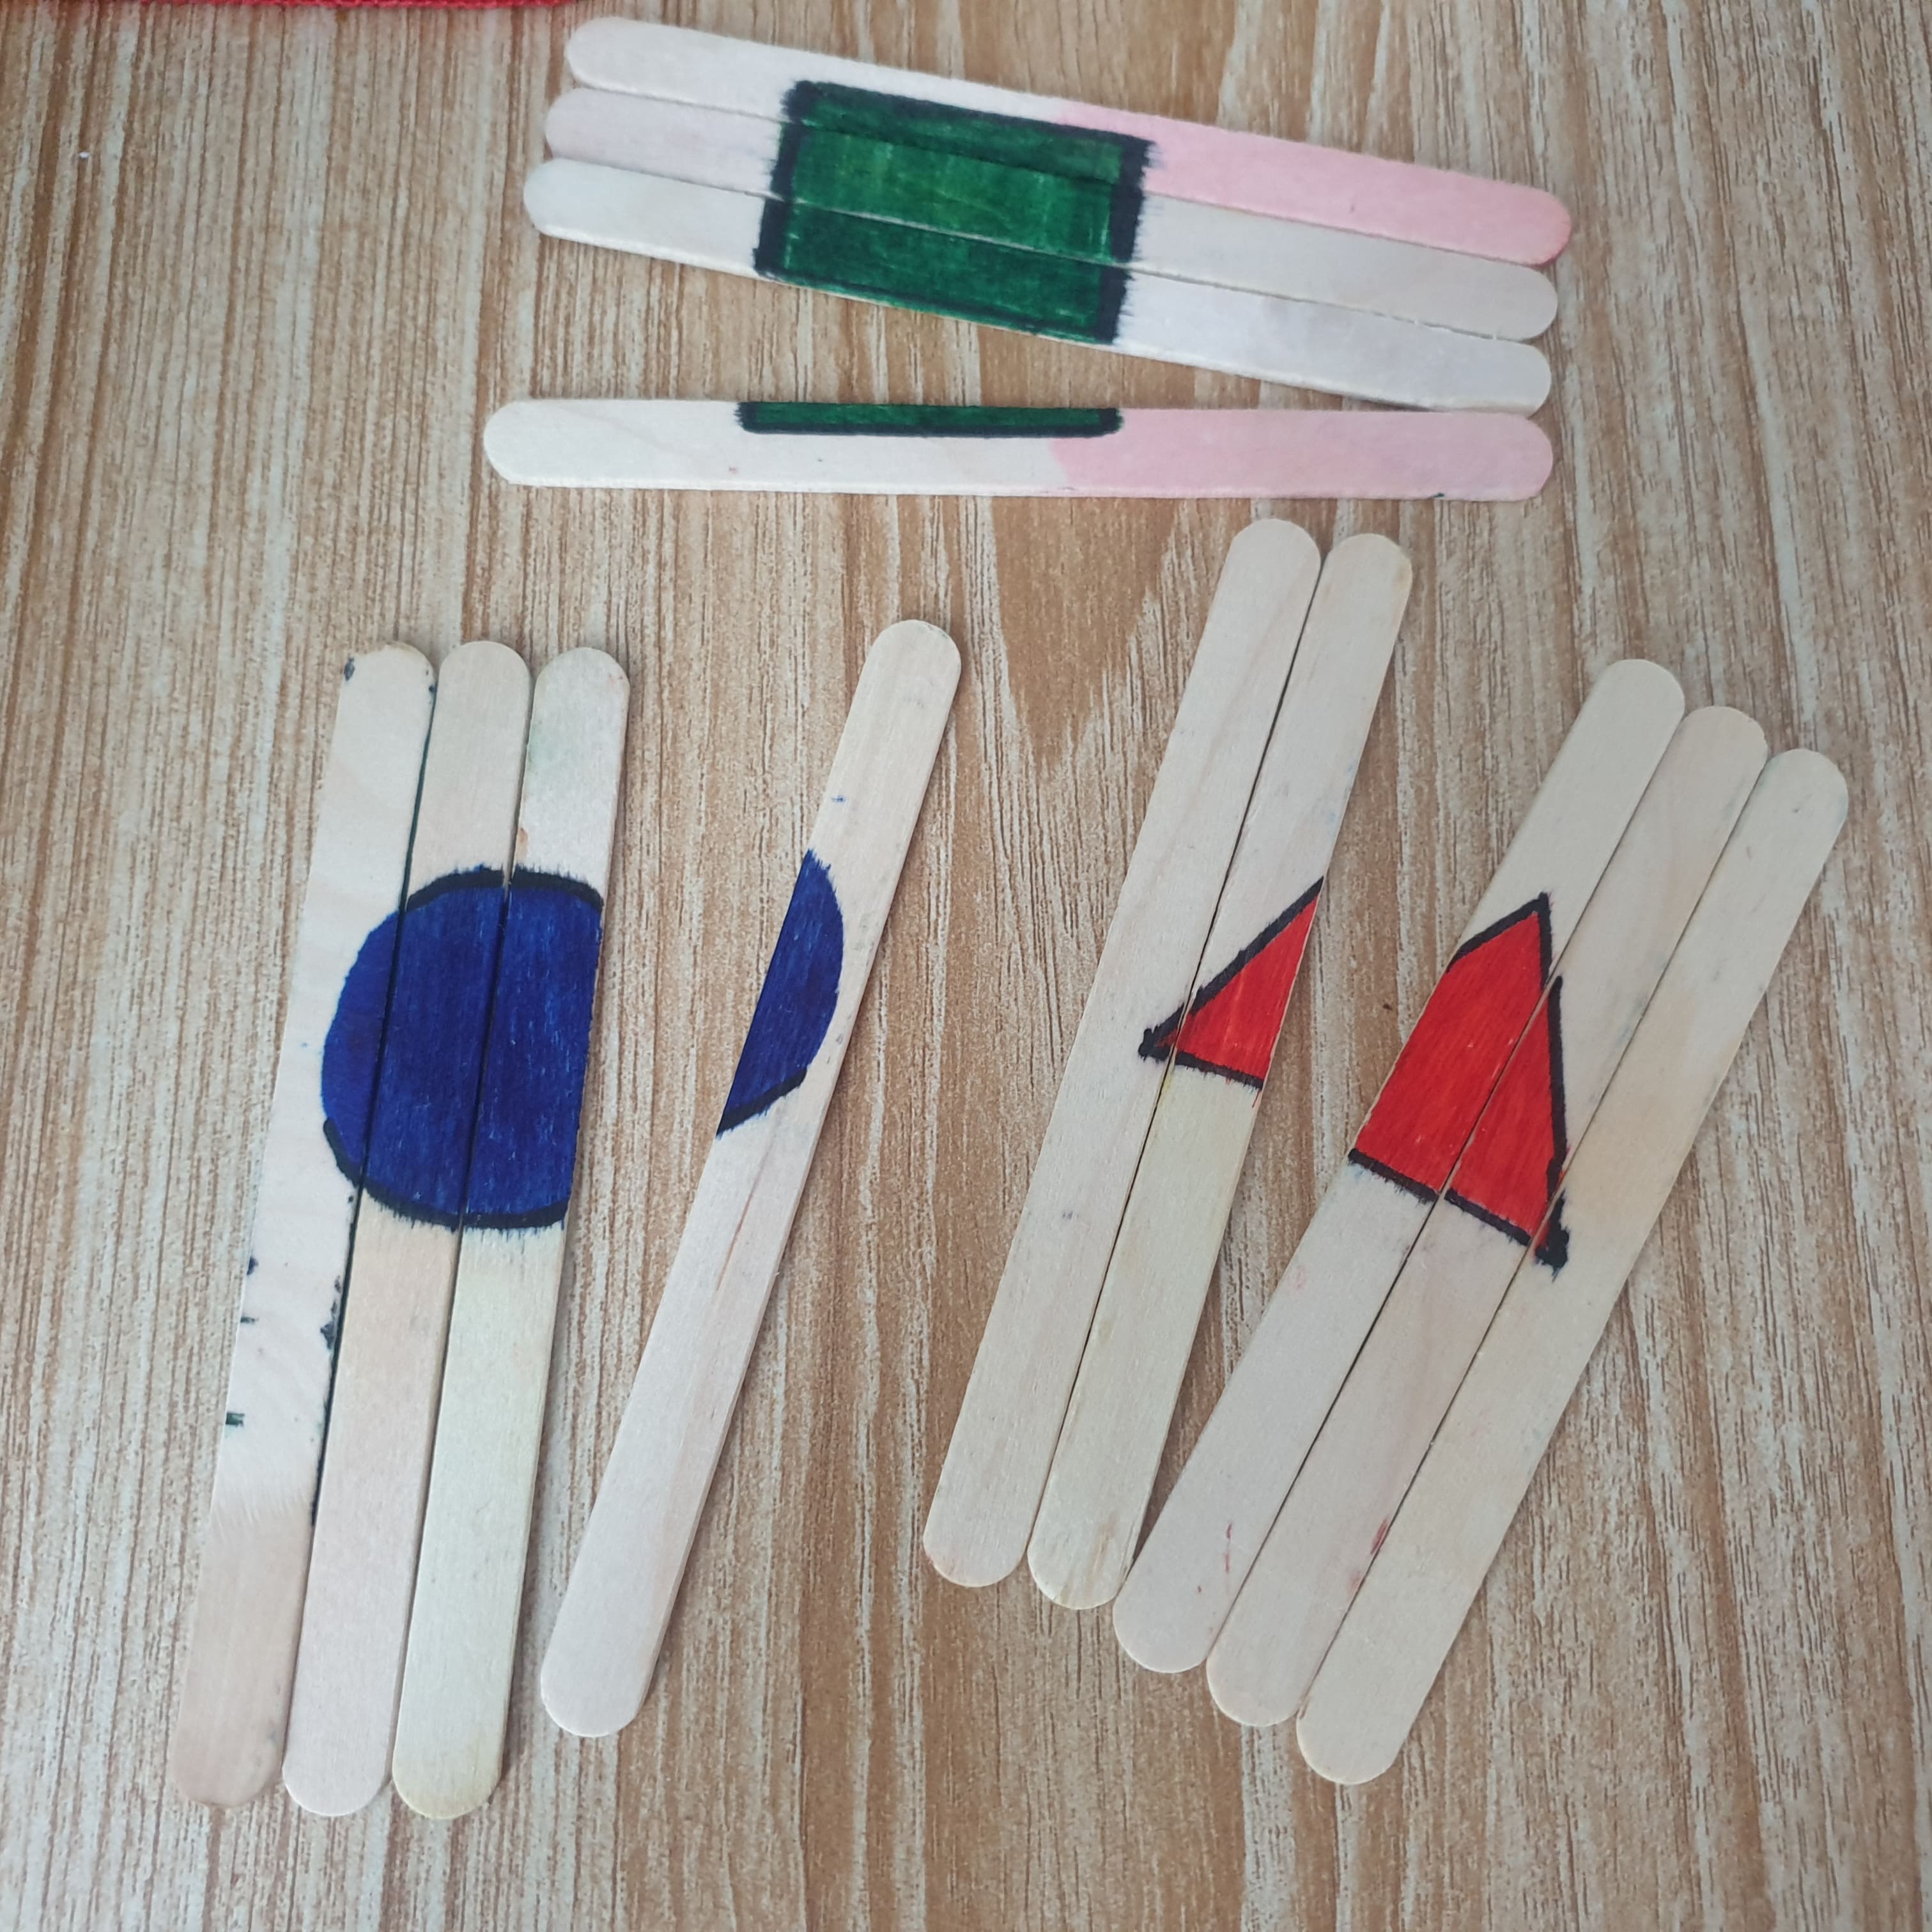
Hey There. Welcome to another interesting craft idea for Kids, Popsicle Stick Puzzle Activity’.
Yes, I made this engaging, screen-free activity for kids. These learning activities for kids keep them busy and provide many learning opportunities. Using just a few craft supplies and minimal setup time, this popsicle stick puzzle activity will keep your kids entertained while enhancing their fine motor skills.
Try this simple yet delightful DIY Popsicle Stick Puzzle! and the best part is, that you can customize the puzzles however you like. Trust me, Your toddler will be busy for 20-30 minutes and will enjoy the game.
Let’s dive into the tutorial!
More Popsicle Stick Activities:
Popsicle stick Picture Puzzle

Materials Needed:
- 3-4 popsicle sticks (per puzzle)
- Washable markers or paints
- Paintbrushes (if using paint)
- Clear tape or masking tape
- Mod Podge or clear sealant (optional, for durability)
Instructions:
Step 1: Line Up the Sticks
Take 3-4 popsicle sticks (or more, depending on the difficulty you want) and lay them side-by-side on a flat surface. Arrange them tightly to make sure there are no gaps between the sticks, as these will be the “pieces” of your puzzle.
Step 2: Secure the Sticks Together
To prevent the sticks from moving while decorating, carefully tape across the back of the popsicle sticks with clear or masking tape. This will hold them in place as you create your design on the front.
Step 3: Choose or Create Your Puzzle Design
You can make the puzzle in one of two ways:
- Draw Your Own Design: Using markers or paint, draw simple shapes. You can draw any other like a smiley face, rainbow, or animal. Make sure they cover each stick for a continuous image.
- Use a Printed Picture: Choose a favorite picture from a magazine, or print a small photo that fits the size of your popsicle stick layout. Trim the picture to the size of the popsicle sticks and glue it down. Once dry, use a craft knife to carefully cut between the sticks. See the printed picture tutorial here.
Step 4: Add Finishing Touches
After the design is complete and dry, you can brush a layer of Mod Podge or a clear sealant over the sticks. This step is optional but helps the puzzle last longer. Let it dry completely before moving on.

Step 5: Cut the Puzzle Pieces
If you used a picture, remove the tape from the back of the sticks and gently separate them. Now you have individual puzzle pieces!
Step 6: Time to Play!
Scramble up the sticks and let your child piece them back together. Challenge them to assemble the puzzle from memory or work together to complete it!
Tips for Success:
- Make It More Challenging: For older kids, you can add extra popsicle sticks and use more detailed images or designs.
- Create a Themed Set: Consider creating multiple puzzles based on a theme your child loves, such as animals, vehicles, or favorite characters.
- Personalize It: Write your child’s name or add little messages on the sticks to make it even more special!
This DIY Popsicle Stick Puzzle is a fun, hands-on activity that helps kids with fine motor skills, memory, and problem-solving—all while fostering creativity. Plus, it’s an inexpensive and eco-friendly way to reuse materials!
I hope You like this post. Do Pin it and share it with others.
Sharing is Caring!
You May Also Like:
