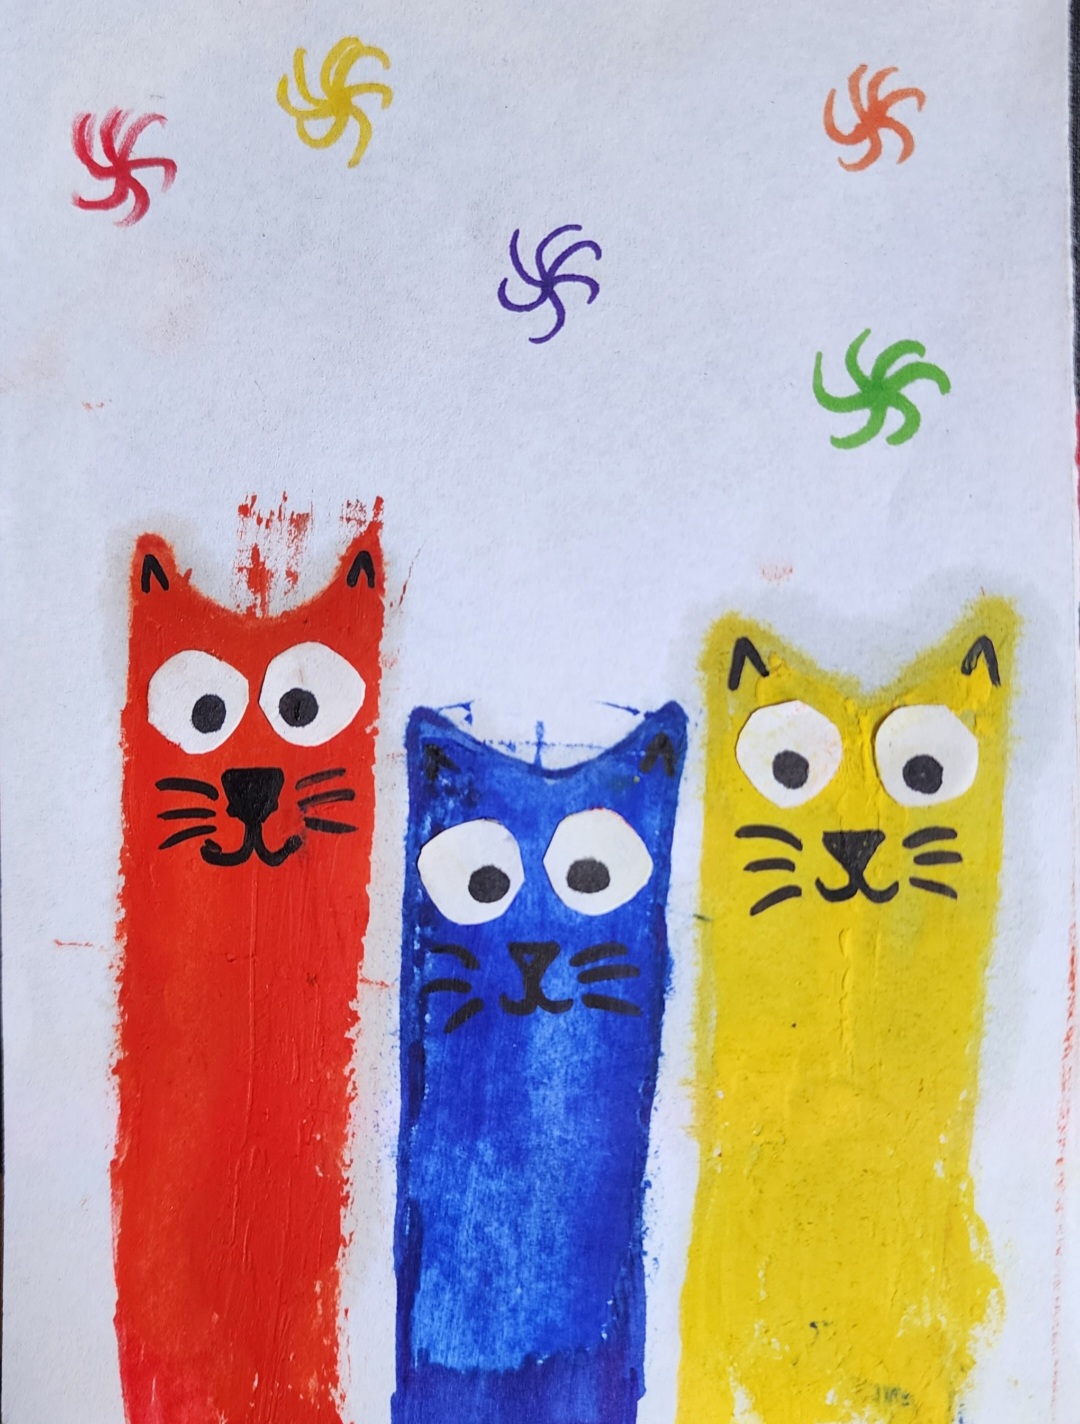
In this post, I have shared a cute and easy craft idea for kids, Squeegee Cat Painting. This is fun and creative craft idea to make.
Materials Needed:
- White cardstock or thick paper
- Washable paint (3–4 colors)
- A small squeegee (or a piece of cardboard/scraper)
- Black marker
- Scissors
- Glue
Step-by-Step Instructions:
Step 1: Prepare the Paper
Place a sheet of white cardstock on a flat surface (use a tray or newspaper underneath to protect your workspace).
Step 2: Add Paint Blobs
Squeeze small drops or lines of paint (in different colors) randomly over the top part of the paper. Don’t use too much—just enough for the squeegee to spread around.
Step 3: Squeegee the Paint
Use the squeegee (or cardboard scraper) to pull the paint downward across the paper. You’ll see beautiful streaks of color blend together. Let your child experiment with the direction and pressure.

Tip: Let the paint dry completely before moving to the next step.
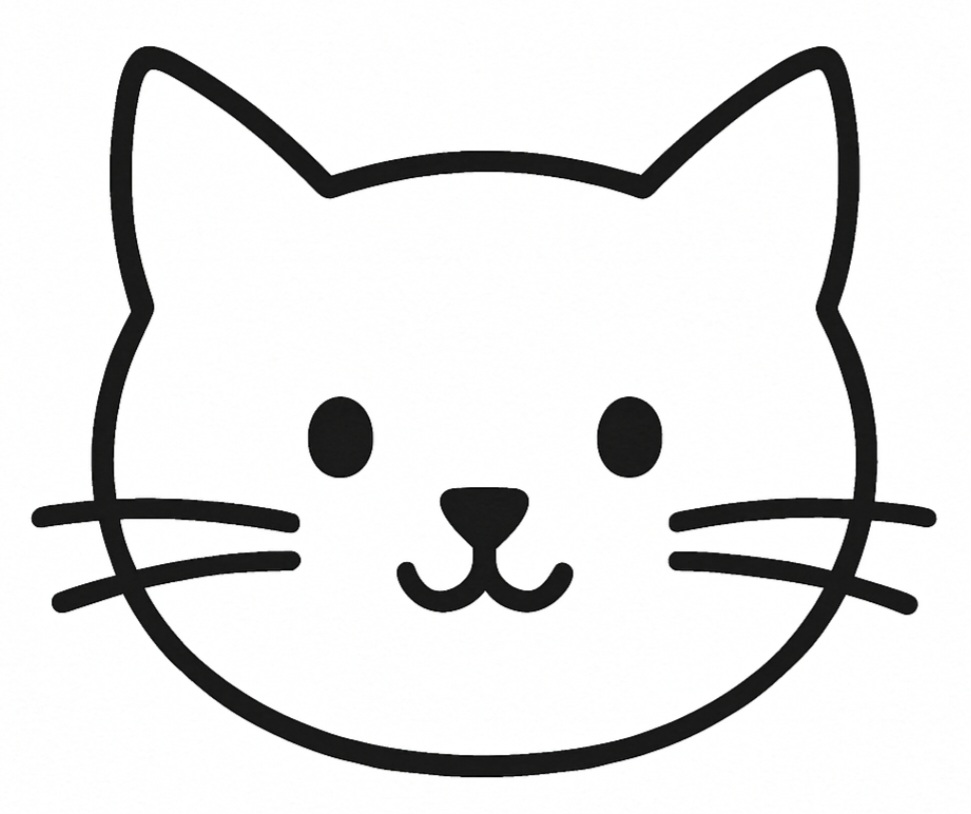
Step 4: Draw and Cut Out a Cat
On another sheet of white or colored paper, draw a simple cat shape: head, ears, nose and whiskers. I have made it using black marker but you can download the template below.
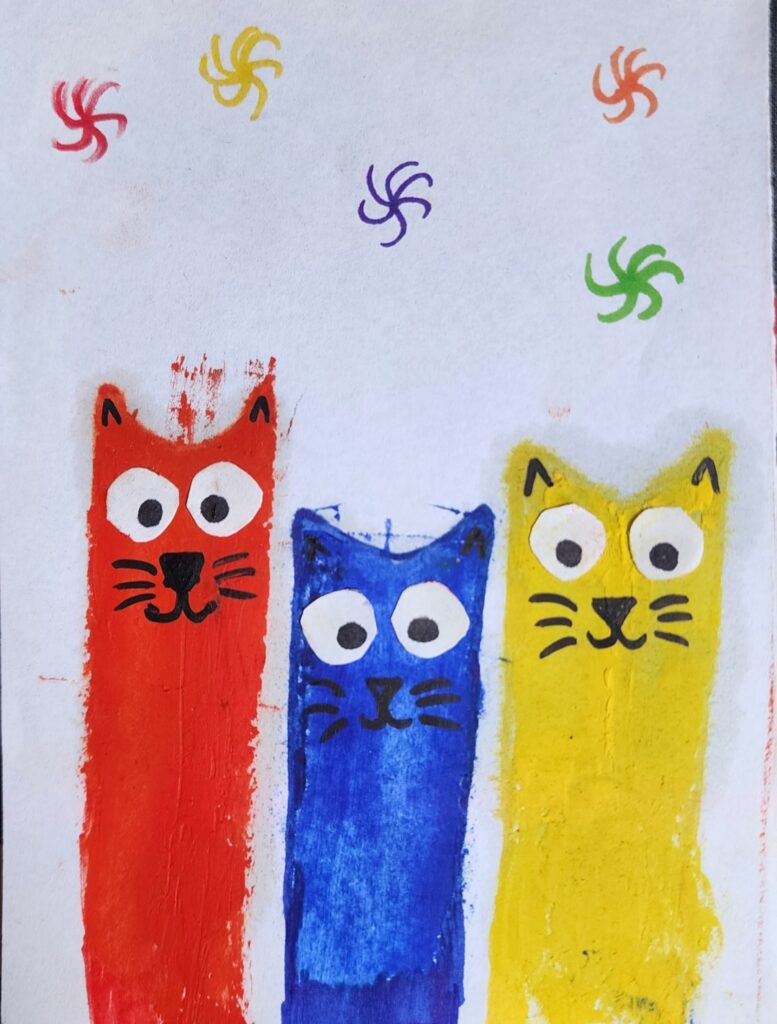
Step 6: Glue the Cat on the Painted Background
Once your painted background is dry, glue the cat cutout onto the squeegee-painted area. You can place the cat in the center or off to the side—whatever looks best to your child!
Step 7: Display It!
Let the glue dry and proudly display your child’s colorful cat squeegee painting.
Why Kids Love It (and Learn From It!)
- Encourages creativity with color combinations and design
- Develops fine motor skills through painting, cutting, and drawing
- Boosts confidence as they create a finished piece of art
- Sensory fun from the texture and movement of paint.