Are you looking for a simple and creative craft project that’s perfect for kids and adults alike? This torn paper butterfly craft is a fantastic way to explore textures, colors, and creativity with minimal supplies. Whether you’re crafting with your little ones or creating beautiful paper art for decoration, this DIY butterfly project is sure to be a hit!
You can also check my post on the series of ideas on torn paper crafts.
Why You’ll Love This Craft
- Easy and Budget-Friendly: Uses materials you likely already have at home.
- Great for Fine Motor Skills: Tearing paper helps improve hand strength and coordination.
- Encourages Creativity: Mix and match colors, patterns, and textures to create unique butterflies.
Materials Needed
- Colored paper (construction paper, scrapbook paper, or even magazine pages)
- A plain sheet of cardstock or construction paper (for the background)
- Glue stick or liquid glue
- Scissors (optional for shaping details)
- Black marker (for drawing antennae and details)
Step-by-Step Instructions
Step 1: Choose Your Colors
Pick a variety of colored paper for your butterfly. You can stick to a specific color theme or go for a vibrant mix!

Step 2: Tear the Paper
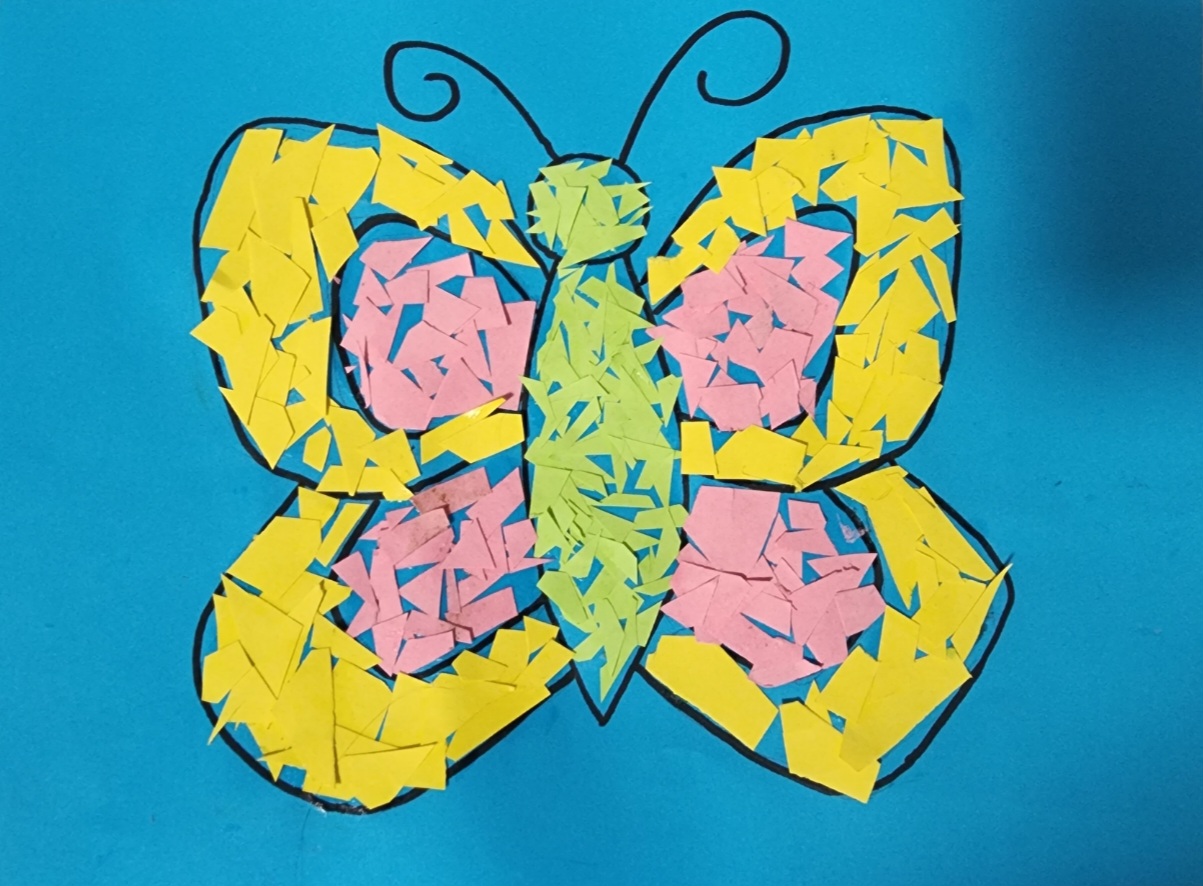
Instead of cutting, tear the colored paper into small, irregular shapes. This adds texture and an organic feel to the butterfly.
Step 3: Create the Butterfly Shape
On your background paper, lightly sketch a butterfly outline or use a template. Then, begin gluing the torn paper pieces within the shape. Start with larger pieces and layer smaller ones to create dimension.
Step 4: Add Details
Once the wings are filled, use a black marker to draw the butterfly’s body, head, and antennae. You can also add extra embellishments like glitter or stickers for a decorative touch.
Step 5: Let It Dry & Display
Allow the glue to dry completely. Once done, display your masterpiece on the fridge, frame it as wall art, or even turn it into a greeting card!

Fun Variations
- Symmetry Challenge: Try making the wings symmetrical by carefully placing matching paper pieces on each side.
- Seasonal Themes: Use autumn colors for a fall butterfly or pastel shades for a springtime vibe.
- 3D Effect: Fold some torn pieces slightly before gluing to give the wings a raised look.
This torn paper butterfly craft is not only a wonderful way to spend a creative afternoon but also a great keepsake to cherish. Have fun experimenting with different colors and textures to make each butterfly one-of-a-kind!
Will you be trying this craft? Let us know in the comments and share your beautiful creations!