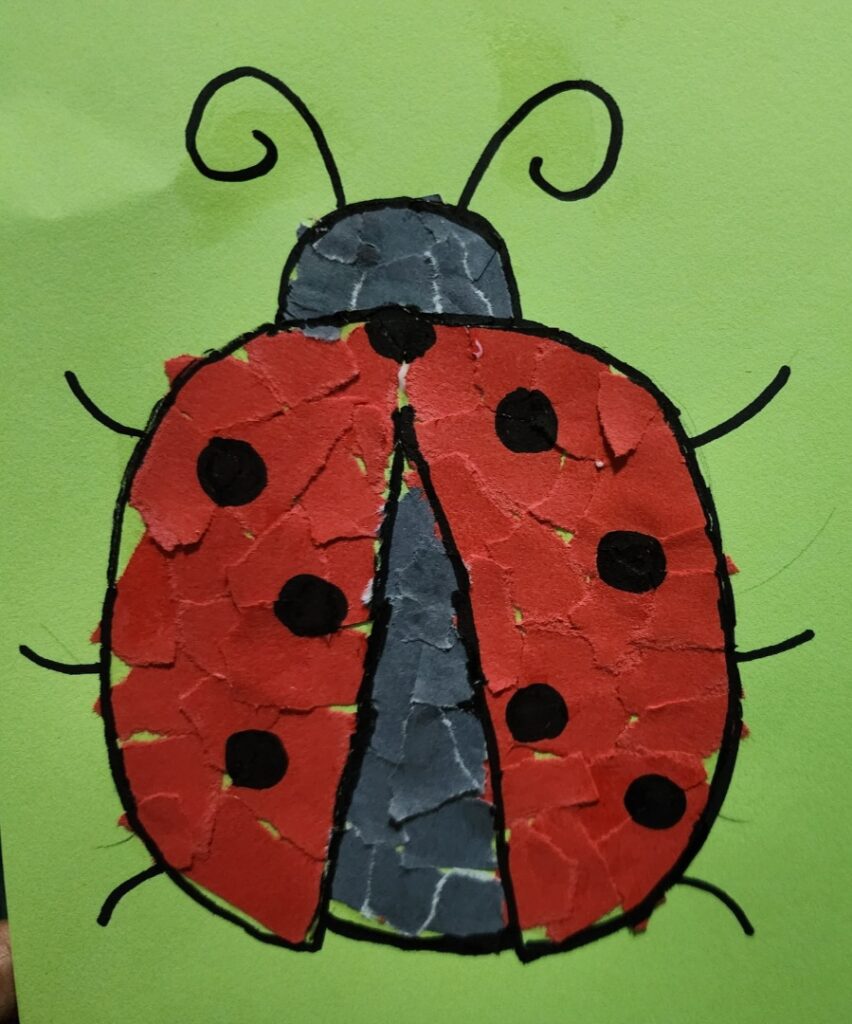
Looking for a fun and easy craft to keep your little ones entertained? This torn paper ladybug craft is perfect for kids of all ages! It’s simple, encourages creativity, and helps improve fine motor skills. Plus, the end result is an adorable ladybug that kids will love to display. Let’s get started!
Materials Needed:
- Printable ladybug outline template (you can download one from this post)
- Red and black construction paper or tissue paper
- Glue stick
- Black marker
Step 1: Print the Ladybug Outline
Print the ladybug outline template on a sheet of white paper or cardstock. The outline should include the body, head, and wings.
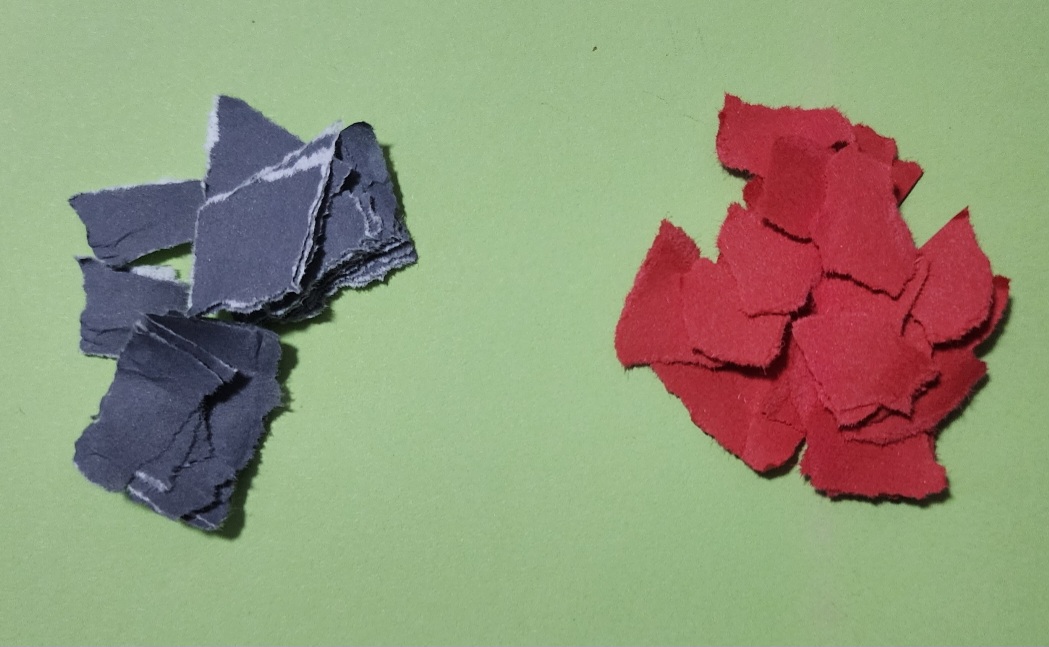
Step 2: Tear the Paper
Give kids red and black construction paper or tissue paper. Ask them to tear the paper into small pieces. Encourage them to vary the sizes and shapes for a more textured look.
Step 3: Glue the Torn Paper
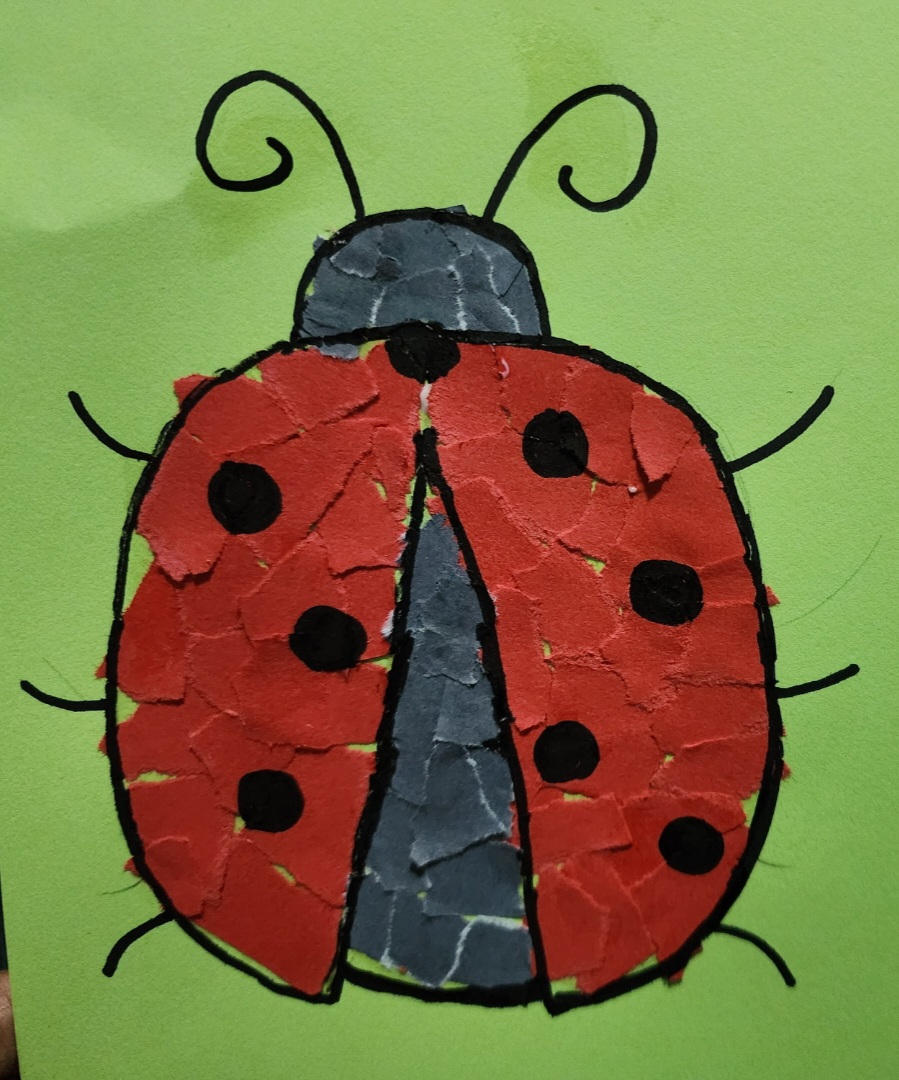
- Start with the red paper for the ladybug’s wings. Apply glue to one side of the wings and stick the torn red paper pieces onto the outline.
- Next, use the black torn paper for the ladybug’s spots and head. Glue the pieces into place to create the classic ladybug pattern.
Step 4: Add Details
Once the torn paper is dry, use a black marker to outline the wings or add extra spots if needed. You can also draw antennae and legs for a complete look.