Are you looking for the best hosting provider to start your website in 2024? You are in the right place. I will guide you to the benefits, tools resources, and step-by-step guide to build a website with Bluehost.
At the end of this article, you will be able to design the website with drag and drop editor and install WordPress on your website.
Related: How To Start a Blog in 2024?
What Is Bluehost?
Bluehost started its business 20 years ago and is considered one of the best hosting providers in general. Bluehost is one of the only free providers that are recommended by WordPress.
Bluehost Pricing
The most noteworthy part for almost all of you is how much it costs.
Well, the basic plan starts from as low as $3.95/month, allowing you to host a single site with $10GB of storage space. It’s even cheaper than a cup of coffee.
However, 10GB space is good for small websites but limits its usage for large sites. For example, if you’re just starting a blog or affiliate marketing, a basic plan is best for you. Once your traffic starts increasing, you can switch it to higher plans.
But if you want to start your own store, the most value comes from the most expensive Bluehost plans. It gives you unlimited product listings with 100GB of storage space.
Why Bluehost?
You must be thinking why choose Bluehost?
Well, I’m recommending Bluehost to you because I have 1 year of experience with Bluehost. The blog you’re reading is hosted by Bluehost.
Bluehost provides a free domain for 1 year, the customer support is just awesome. They offer 24/7 customer service. Most Importantly, pricing is reasonable as compared to other hosting providers. i.e $3.95/month.
I can’t recommend enough to build a website with Bluehost.
So, Let’s start.
This post may contain affiliate links to which I may receive a small commission on the purchase you make through the links at no extra cost to you.
How to build a website with Bluehost?
This is the main dashboard of Bluehost. Click on ‘Get started’.

Step 1: Select your hosting plan.
The first step is to select a hosting plan. Bluehost offers a variety of hosting plans to suit different needs and budgets. As I mentioned before, If you are just starting out, the Basic plan is a great option as it is affordable and includes everything you need to get your blog up and running. As your blog grows, you can always upgrade to a more advanced plan.

Step 2: Choose a Domain Name:
After you have selected the basic plan, the second step in setting up a website with Bluehost is to choose your domain name. Your domain name is the web address where your blog will live, so it’s important to choose something that is memorable and reflects the content of your blog. Keep in mind that your domain name should be easy to spell and not too long. Once you have chosen your domain name, you can check its availability on Bluehost’s website.

Step 3: Create your Bluehost account.
Once you have chosen your domain name and hosting plan, it’s time to create your Bluehost account. Simply fill in your personal details, choose your payment method, and set up your account. Bluehost makes it easy to sign up and get started with only a few clicks.

Select plan information. I would recommend selecting 36 months as it will save you $168.96 savings versus the 12-month plan.


In additional services, leave all these options empty, If you find domain privacy and protection, just tick mark that one. Because domain privacy is important to secure your website data from spammers. Otherwise, your profile and contact information will be visible to the public.

Enter payment details and click submit. Bluehost will now email you the invoice/receipt. You’re about to start your website.

Now, Bluehost will redirect you to create your account to log in to your Bluehost dashboard. Enter your login credentials to create your account.

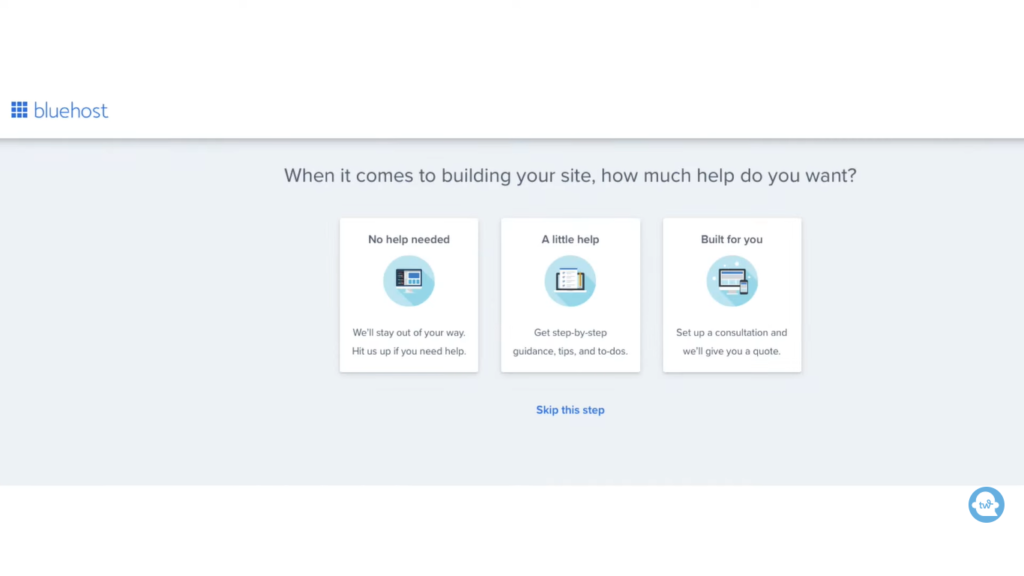
After creating your account, You will be on the page to create your website button following the page how much help you need to get started. Feel free to select the button you want or you can skip this step button. I selected skip the button.
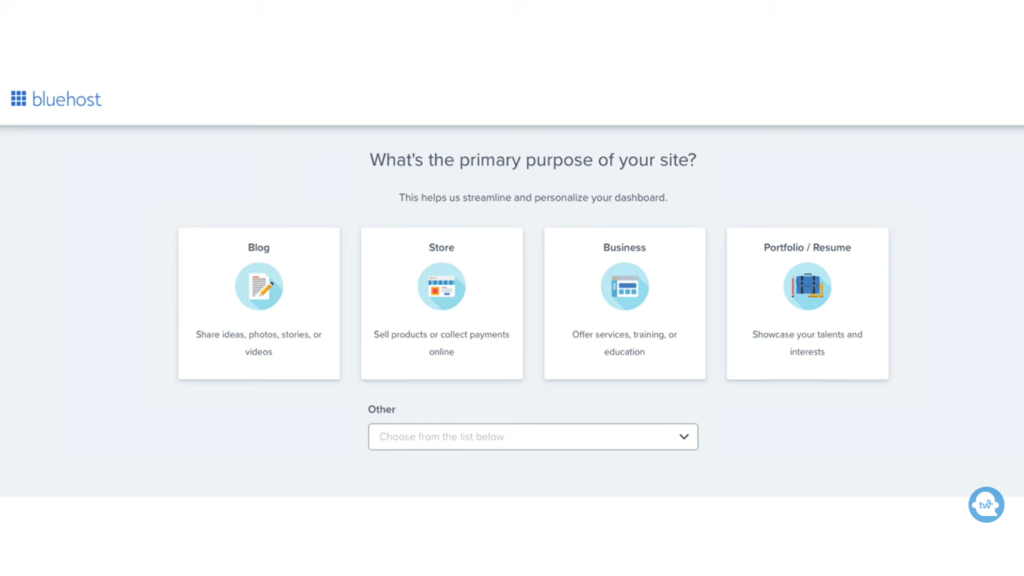
You will be on the page where you will be asked about the purpose of the website. If you are starting a blog or affiliate marketing site, select Blog. Otherwise, you can skip this step.
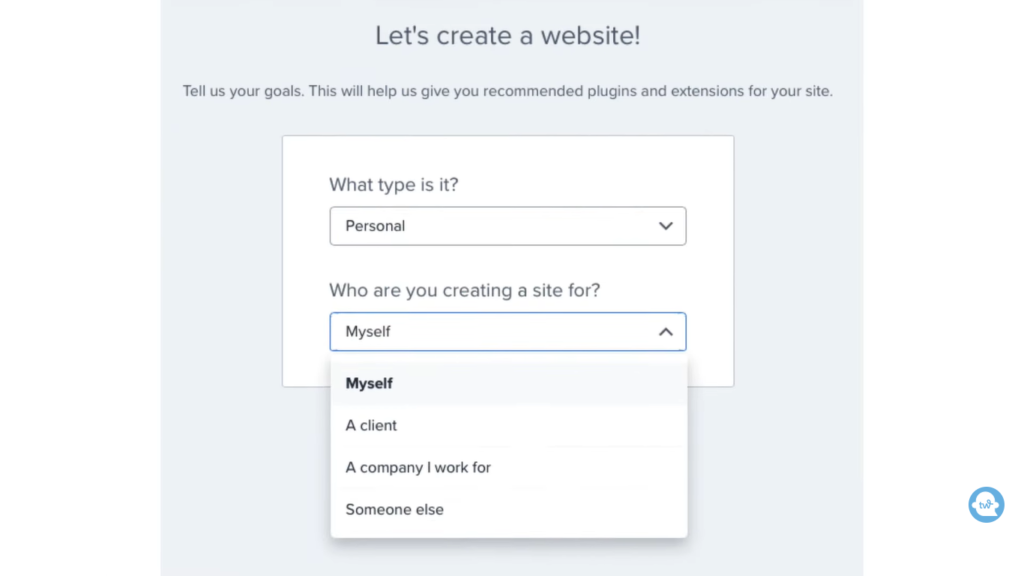
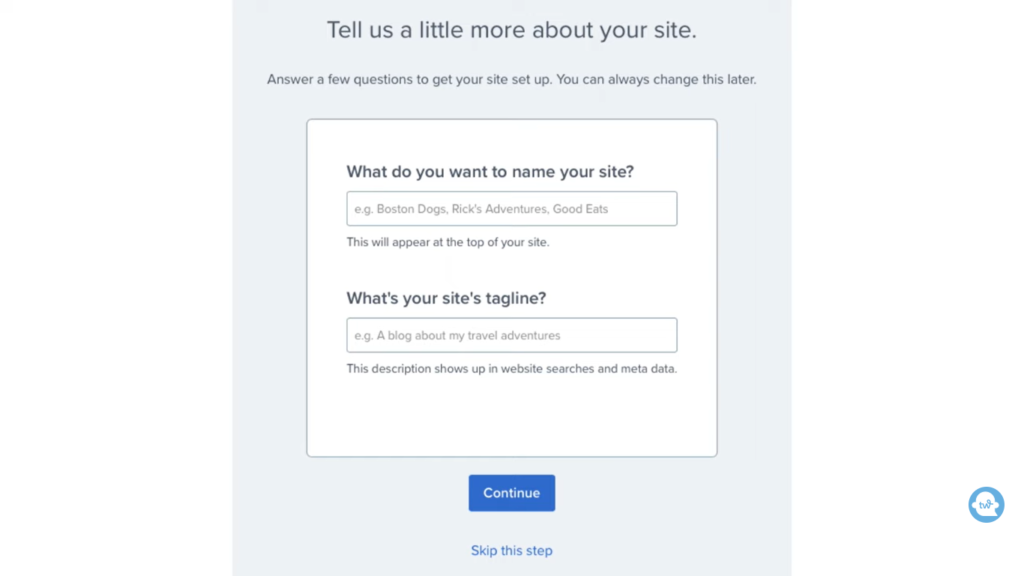
Followed by the name of the site and site’s tagline. You can enter it here or can add it later. So, click continue or skip this.
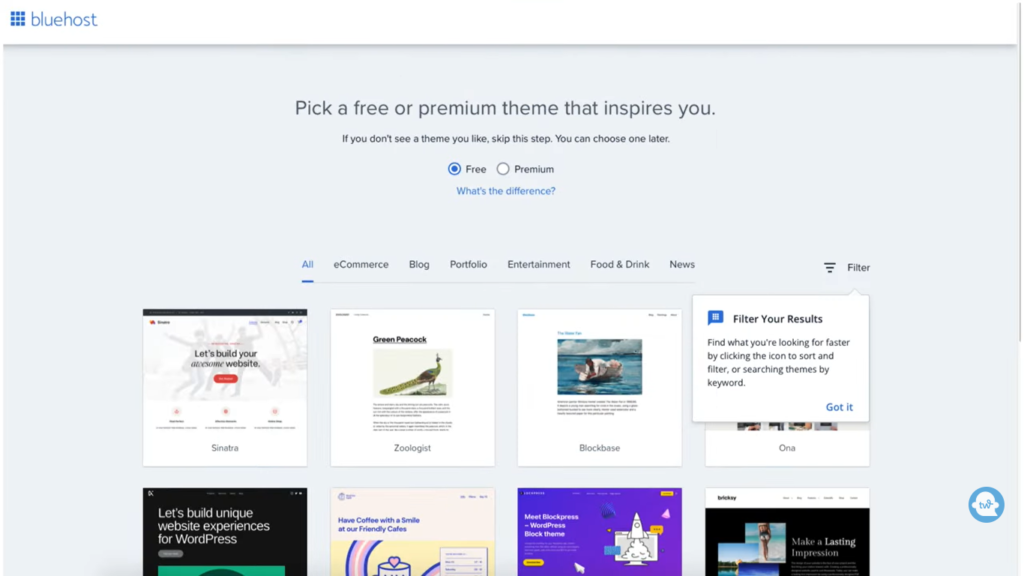
Next step will be to select the theme for your website. Skip this step for now. We will Install the theme later.
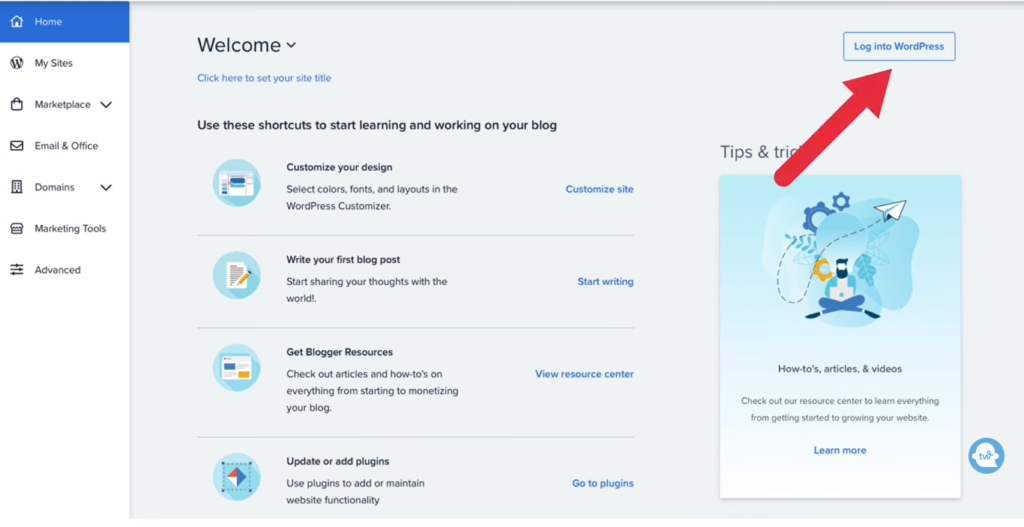
You will then be redirected to the Bluehost dashboard. Click on the Login WordPress button and you will go to the WordPress dashboard.
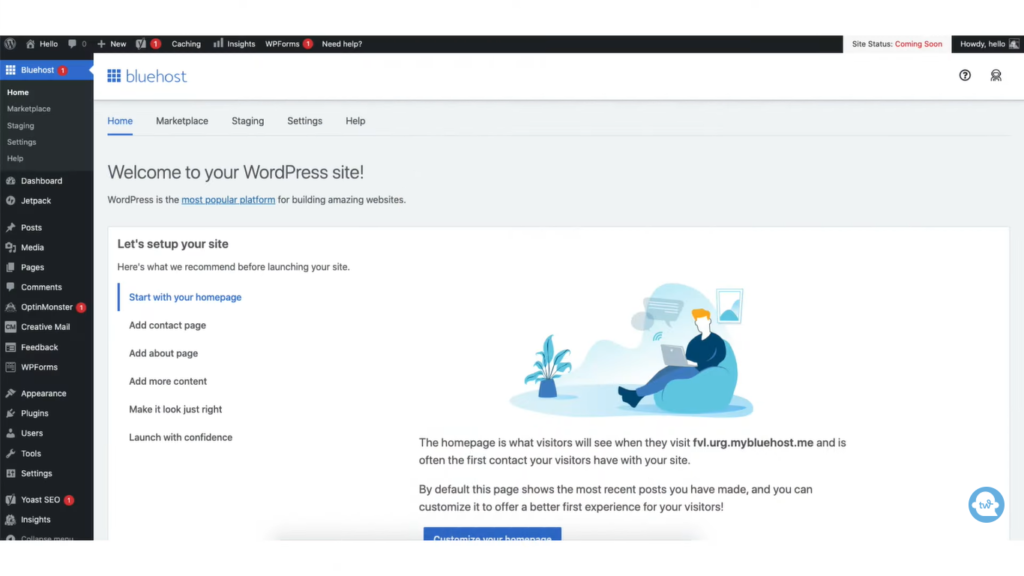
To install the theme, select Themes under the Appearance tab. I started with generate press for my blog. You can also use Astra as it gives good website speed. Click activate and wohoo you are ready to start.
Install the necessary plugins to start a blog and start promoting.
If you find this post helpful and interesting, Do pin it and share it with others.
Sharing is Caring!


