Are you looking for ladybug craft ideas for kids? Ladybug crafts can be a fun and engaging activity for preschoolers. These crafts are not only enjoyable for preschoolers but also help develop their fine motor skills and creativity. Make sure to supervise them during the craft activities and assist them with any cutting or gluing as needed.
These crafts can be made in the form of paper crafts, clay crafts, or any unused items in the house.
Related: Melted Crayon Crafts for Kids
1. Paper Plate Ladybug:
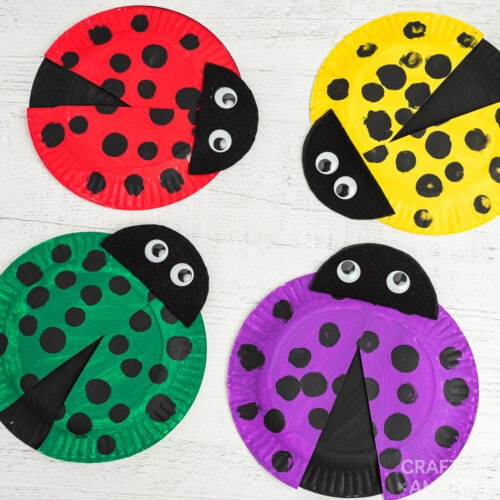
Materials: Paper plate, red paint, black construction paper, googly eyes, glue, black marker.
Instructions:
- Paint the bottom side of the paper plate red and let it dry.
- Cut out black circles from the construction paper for the ladybug’s spots.
- Glue the black spots onto the red paper plate.
- Glue googly eyes onto the ladybug.
- Draw a smiley face with the black marker.
2. Thumbprint Ladybugs:
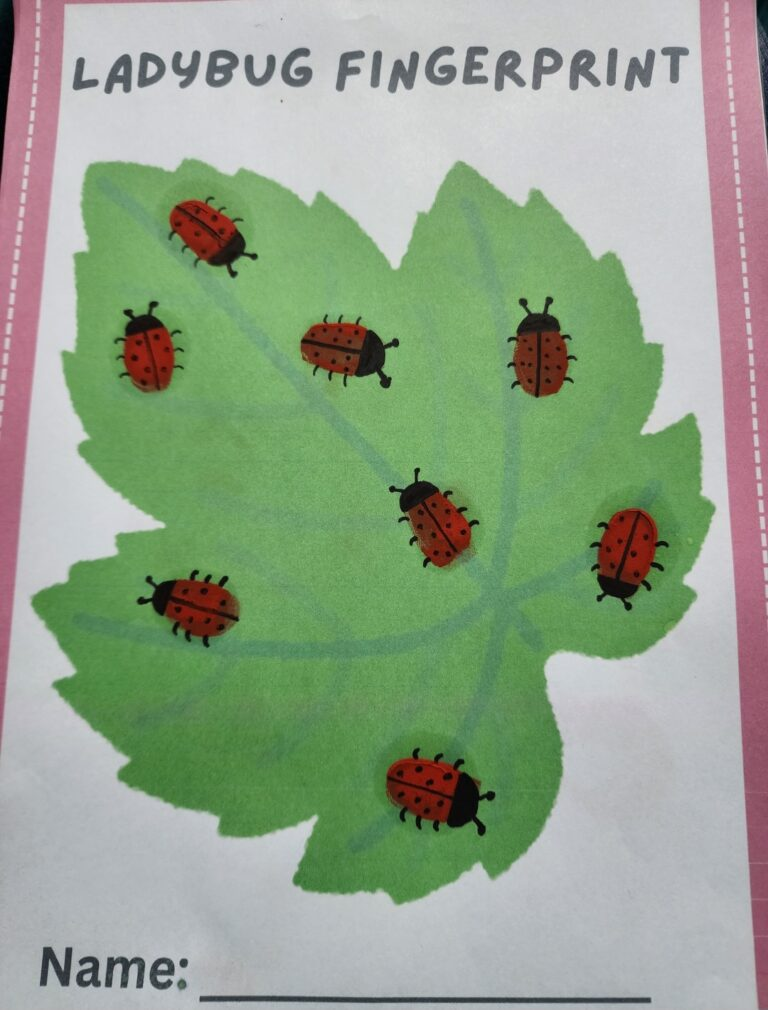
Materials: White paper, red and black non-toxic finger paint, black marker.
Instructions:
- Have the child dip their thumb into the red paint and make thumbprints on the paper.
- Once dry, use black paint or a black marker to add spots on the red thumbprints.
- Add black dots for eyes and draw antennae with the black marker.
3. Rock Ladybugs:
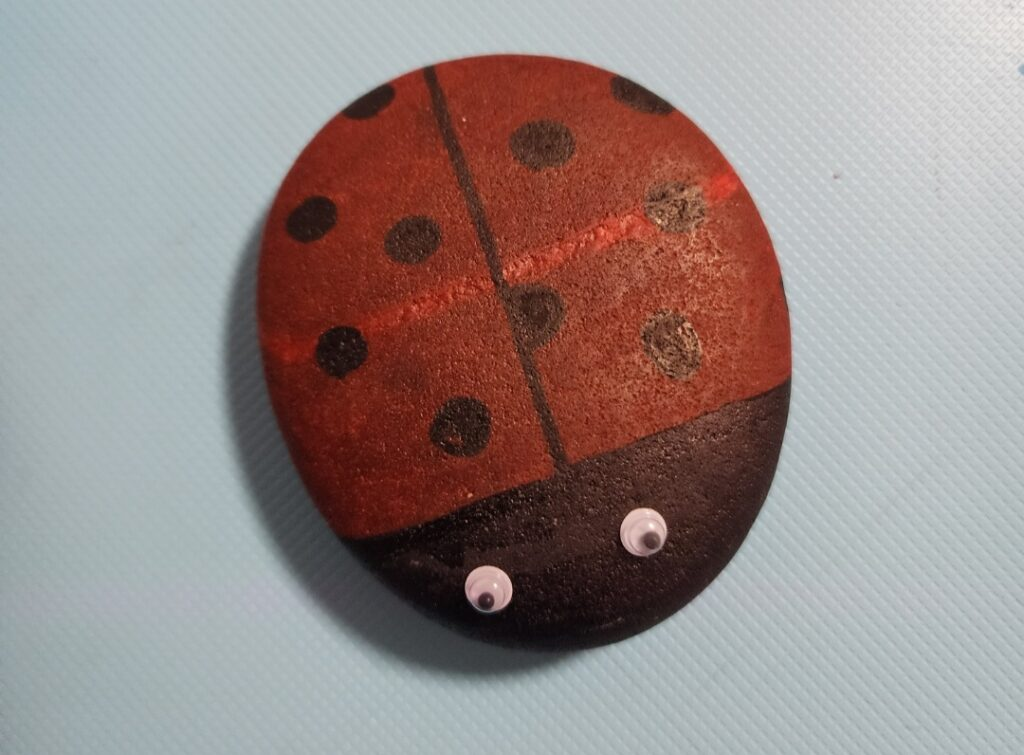
Materials: Smooth rocks, red and black acrylic paint, paintbrushes, googly eyes, glue.
Instructions:
- Paint the rocks red and let them dry completely.
- Paint black spots on the red rocks and let them dry.
- Glue googly eyes onto the rocks.
- Draw antennae with a black marker.
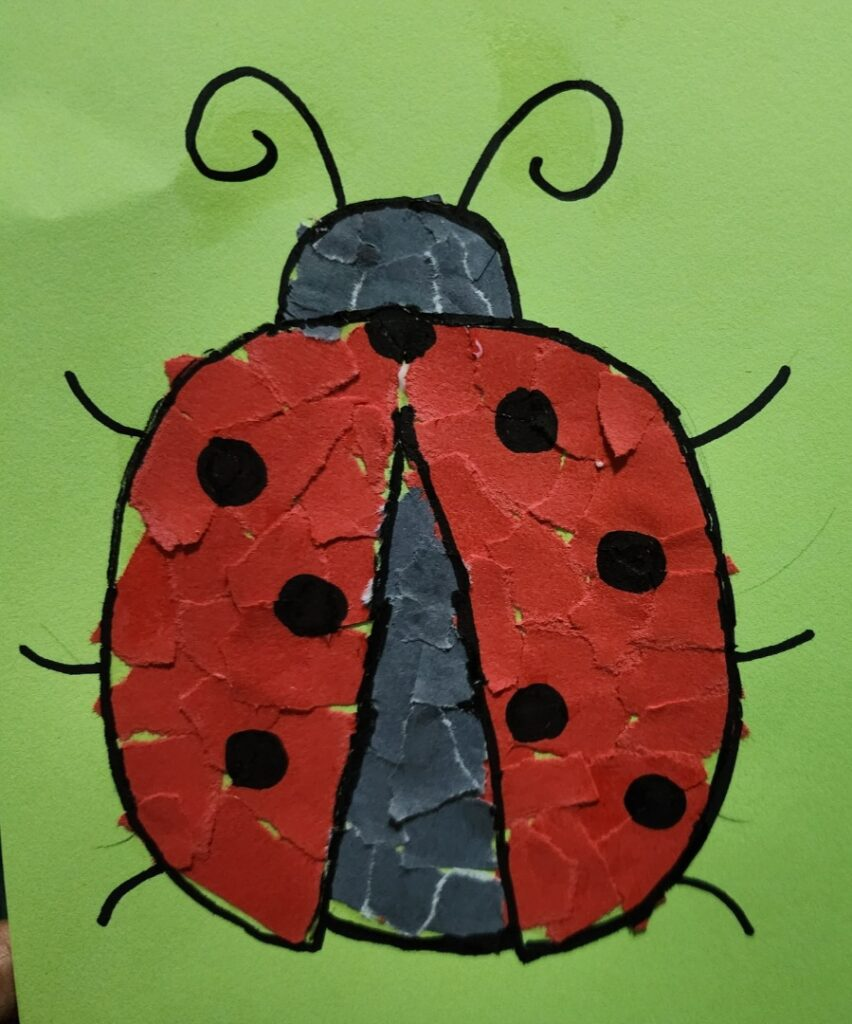
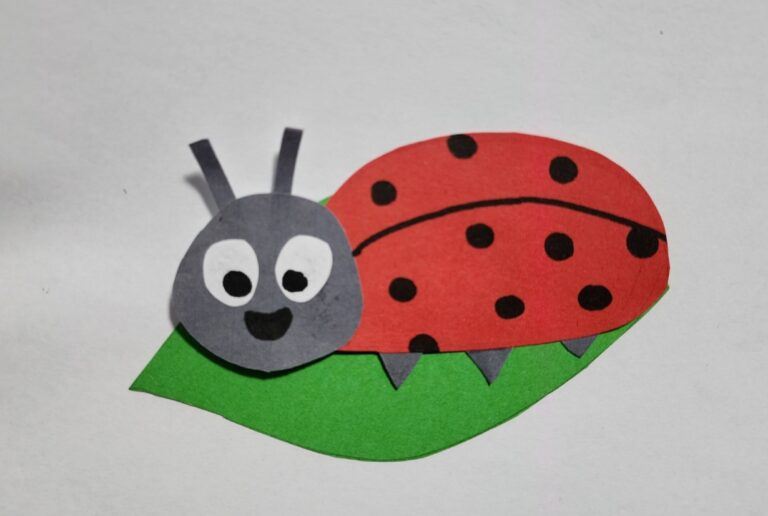
4. Torn Paper Ladybug
5. Egg Carton Ladybugs:
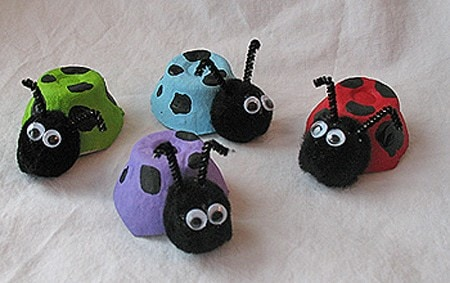
Materials: Egg carton cups, red and black paint, paintbrushes, googly eyes, glue, black pipe cleaners.
Instructions:
- Cut out individual egg carton cups.
- Paint the cups red and let them dry.
- Paint black spots on the red cups.
- Glue googly eyes onto the front of the cup.
- Cut black pipe cleaners and glue them onto the cup as antennae.
6. Ladybug Suncatchers:
7. Pasta Ladybugs:
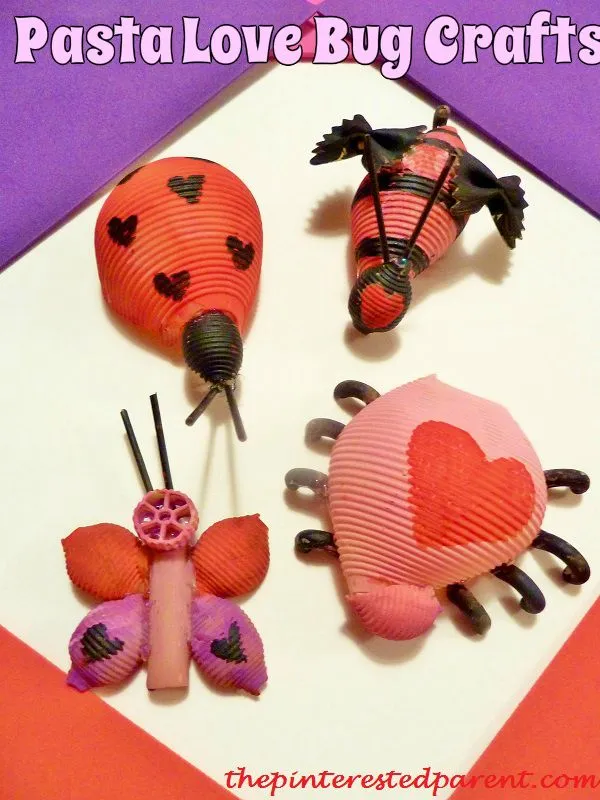
Materials: Large pasta shells, red and black paint, paintbrushes, googly eyes, glue.
Instructions:
- Paint the pasta shells red and let them dry.
- Paint black spots on the red pasta shells.
- Glue googly eyes onto the front of the shells.
8. Ladybug Headbands:

Materials: Red and black construction paper, black pipe cleaners, glue, scissors, and stapler.
Instructions:
- Cut out a strip of red construction paper to fit around the child’s head.
- Cut out two large black circles for the ladybug’s spots and a smaller circle for the head.
- Glue the black circles onto the red headband strip.
- Cut black pipe cleaners and glue them onto the headband as antennae.
- Staple the ends of the headband together to form a circle.
9. Clothespin Ladybugs:
Materials: Red construction paper, Black construction paper, White construction paper (optional for eyes), Scissors, Glue stick, Black marker, Googly eyes (optional)
10. Ladybug Tissue Box:
Materials: Empty tissue box, red and black construction paper, googly eyes, glue, scissors.
Instructions:
- Cover the tissue box with red construction paper.
- Cut out black circles from the black construction paper for the ladybug’s spots.
- Glue the black spots onto the red tissue box.
- Glue googly eyes onto the front of the tissue box.
11. Ladybug Handprint Cards:
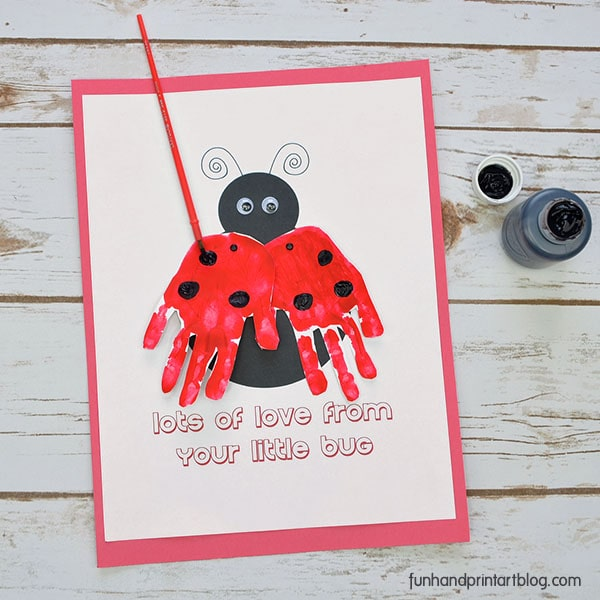
Materials: White cardstock or construction paper, red and black washable finger paint, black marker.
Instructions:
- Have the child dip their hand into red paint and make a handprint on the cardstock.
- Once dry, use black paint or a black marker to add spots on the red handprint.
- Add black dots for eyes and draw antennae with the black marker.
- Write a message inside the card.
12. Ladybug Bracelets:
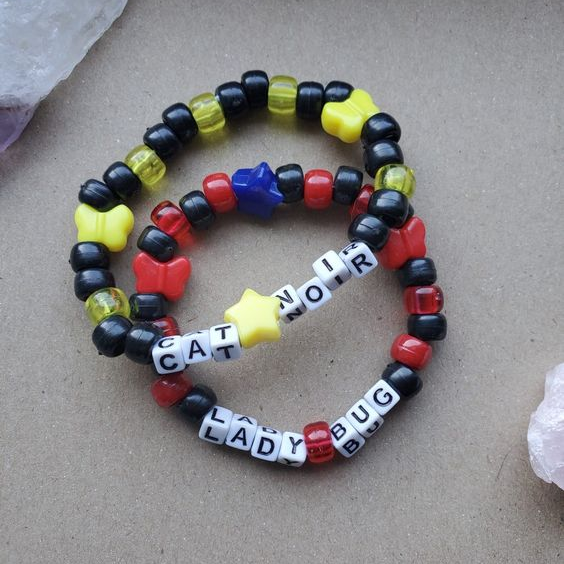
Materials: Red and black beads, elastic string.
Instructions:
String alternating red and black beads onto the elastic string to create a ladybug pattern. Tie the ends of the string together to form a bracelet.
13. Ladybug Coloring Pages:

Print out various ladybug coloring pages. Let the children color the pages using crayons, markers, or colored pencils.
These additional ideas offer a variety of ladybug-themed crafts that are simple, creative, and suitable for preschoolers. I hope you like this post, Do pin it and share it with others.
Sharing is Caring!
![Easy Dinosaur craft for kids [Free Printable]](https://digicative.com/wp-content/uploads/2026/06/1000098391.webp)
![Elephant craft for kids[Free Printable Template]](https://digicative.com/wp-content/uploads/2026/05/1000094935.jpg)
So cute!
These ideas are really cute. My favorite is the painted rock ladybug because one of the first crafts I ever did was a painted rock ladybug. It looks much like the one in your pic. Great crafts never go out of style!
Thankyou so much. I’m glad you liked it.